Press-Fit Construction Kit
Materials
- Calipers
- Material (I used cardboard in this case)
- Fusion 360 Software
- Inkscape Software
Introduction
For the creation of the press-for construction kit, I opted to create a series of butterflies that would be able to slot into each other. I did not have a desired “end shape” in mind. This was heavily inspired by Kassia’s triangles.
1. Using Fusion 360

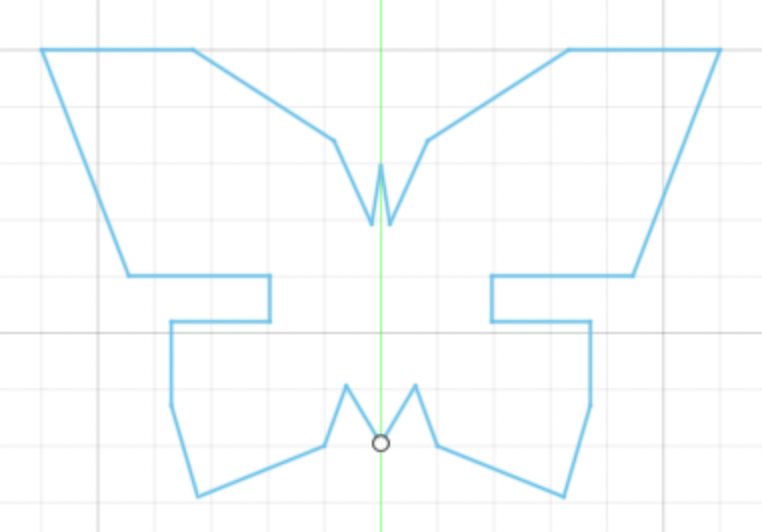
I really wanted to experiment with an interesting shape, like a Butterly. I found a polygon drawing of a butterfly, which I based my drawing on Fusion 360. The polygon drawing had to be modified to account for notches, which I placed where the wings separate (for aesthetic purposes, of course). When building notches on the butterfly, I made sure to account for the thickness of the material (cardboard) which was around 4.1mm, and subtracted the kerf, which was around .2mm. I ended up making the “width” of the notches 4.05mm. I first built the righthand side of the butterfly, and mirrored it over a vertical line (construction line) to obtain the lefthand side. I did not have a need to extrude my shape to 3D, provided I was able to create all of the features in my butterfly in 2D. I liked the sharp edges of the butterfly and opted also not to filet.
2. Using Inkscape
After I was satisfied with a sketch, I exported my sketch to a DXF file. From here, I imported the DXF file into Inkscape, where I changed the lines to red, and the line width to .010 inches. From there I exported this sketch to a PDF.
3. Laser Printing!
I emailed the PDF to my good friend Bella, who then opened it up on the computer in the lab. We faced a couple of mishaps along the way, including spending ~1 hour on troubleshooting issues with the laser cutter. From here, we were able to print the PDF to the laser printer. Within the laser printer software, I made sure to create a 1 x 3 “grid” of the butterflies, which would print a total of three butterflies. In hindsight, I should have printed more, given that the laser printer broke down almost immediately after. I also made sure to change the material to mix board, to ensure that the laser is optimized for this material (and will not catch on fire).
4. The Final Product
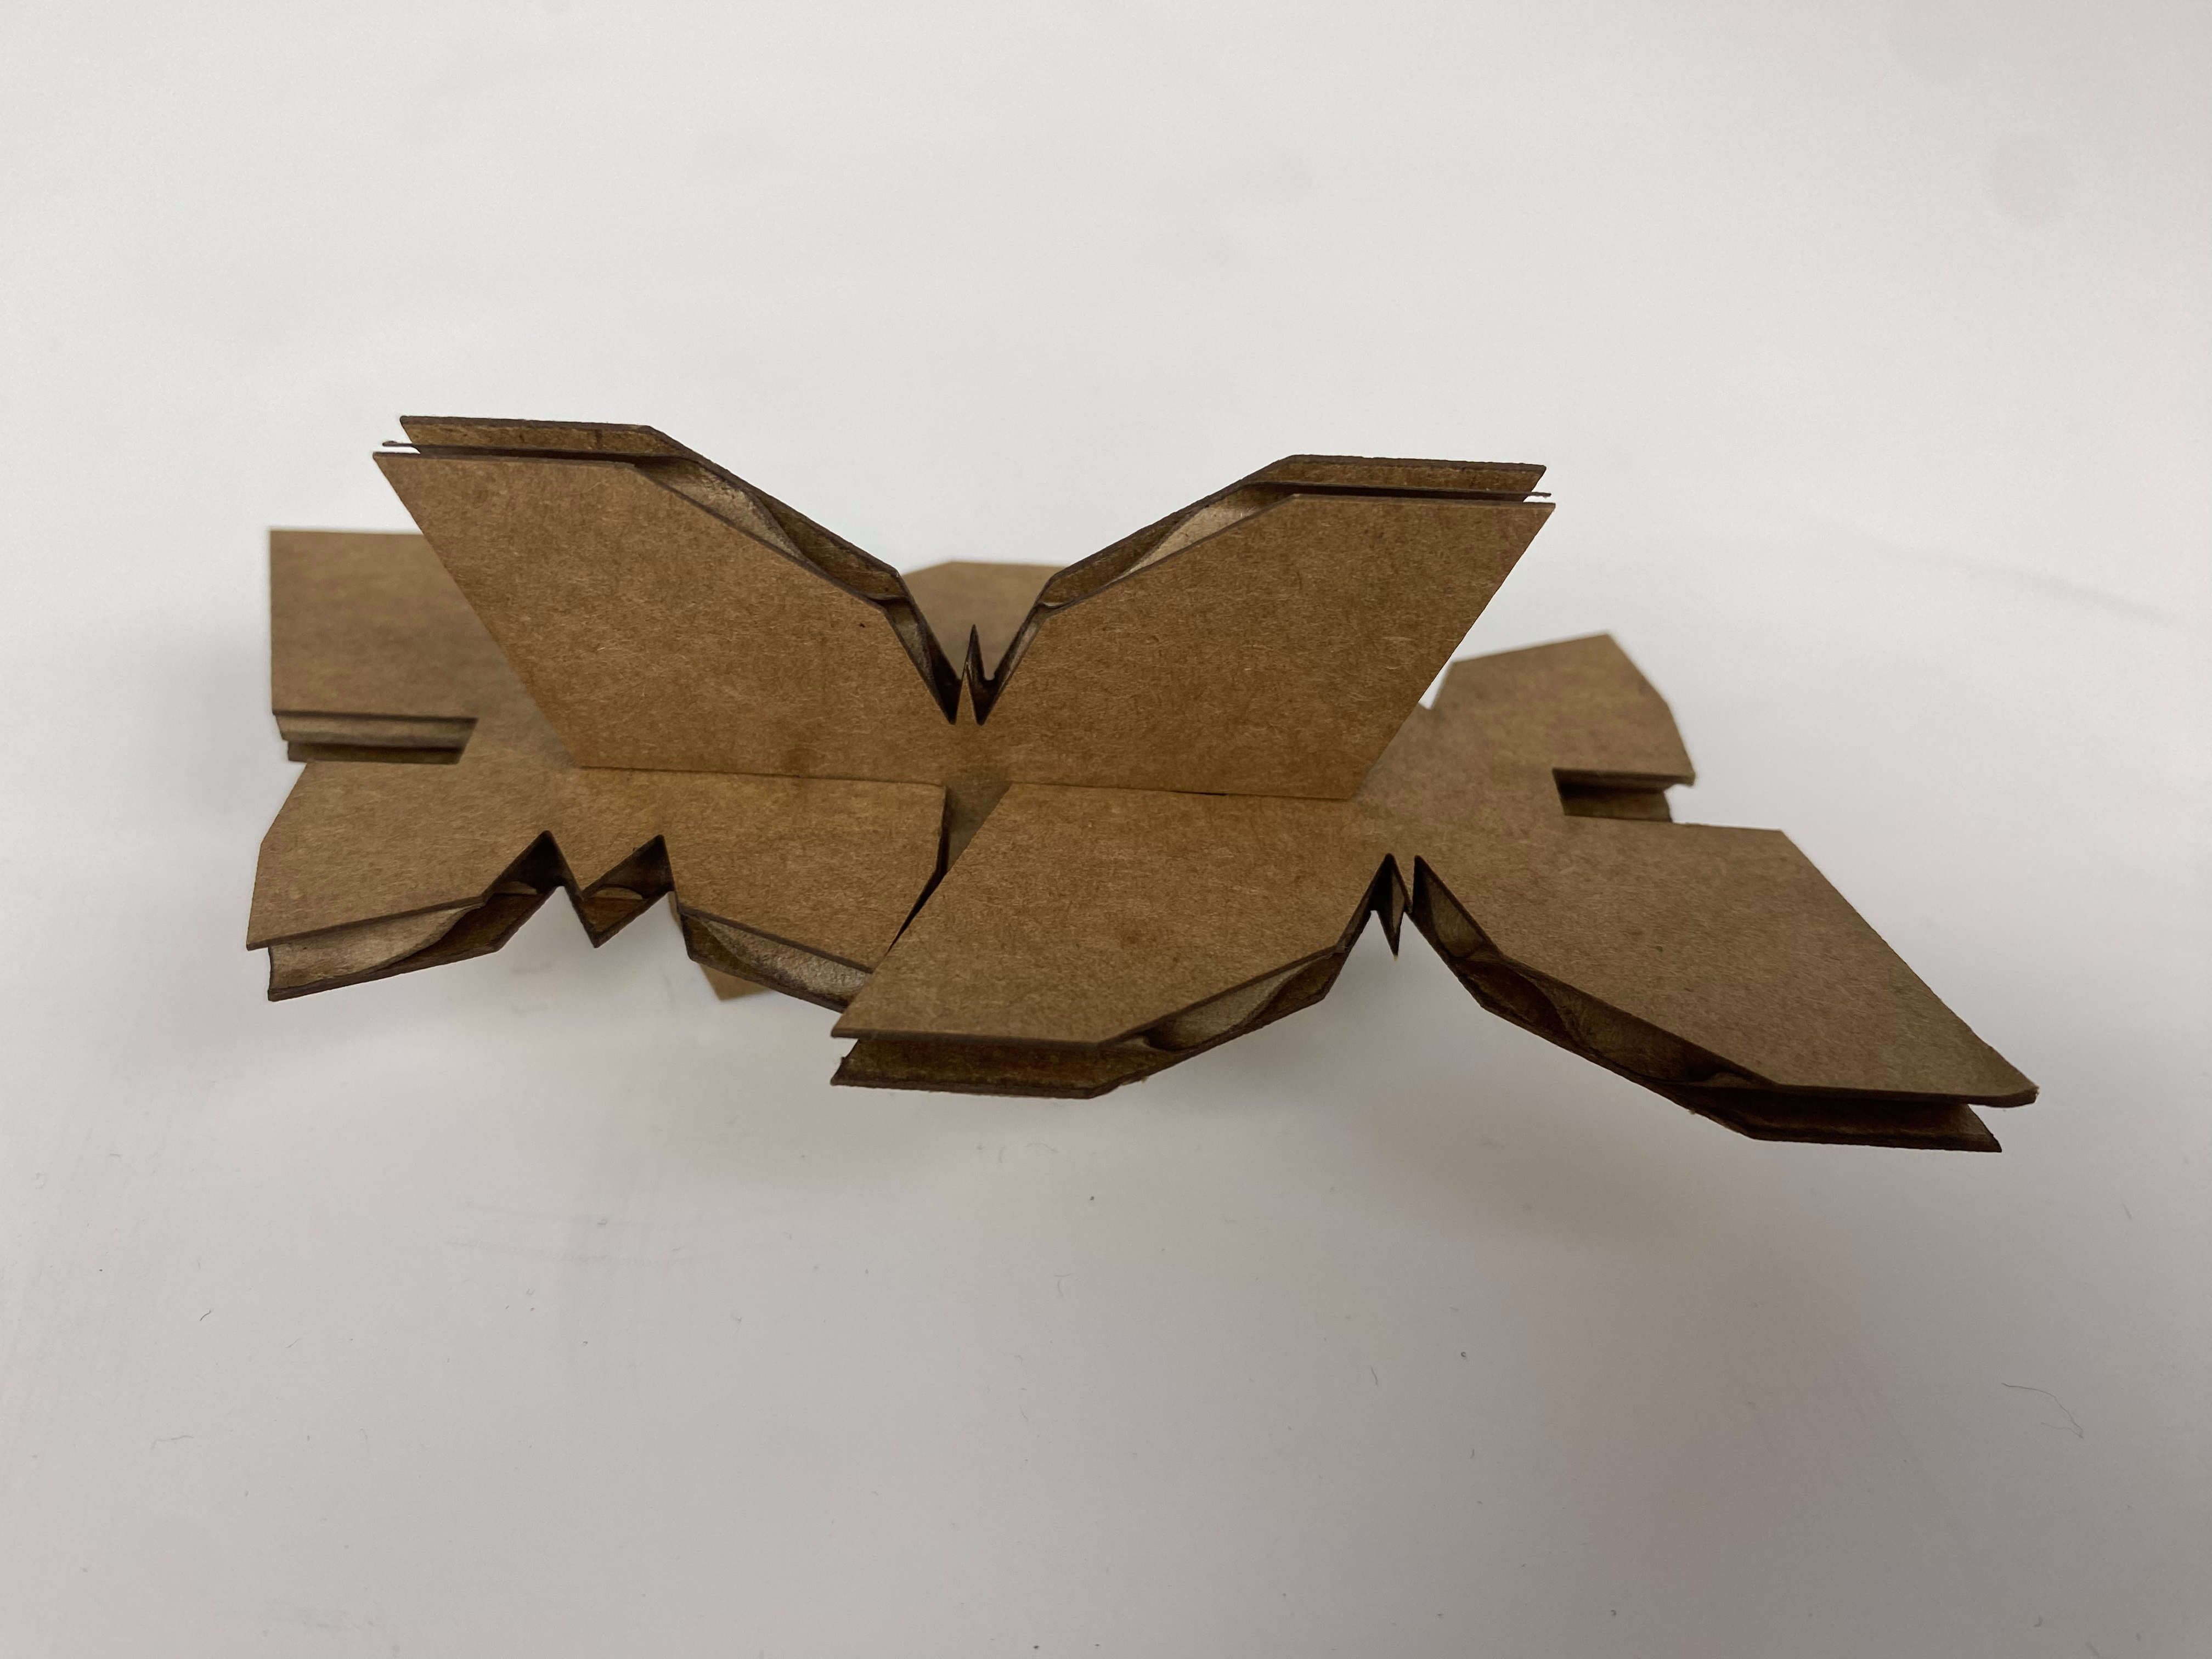
Et voila! See the butterflies below. I quite like the way these turned out. I ended up being super lucky that the butterflies fit into each other nicely on my first try.
Modeling Household Objects - Red Lego Brick
Materials
- Calipers
- Household objects (I looked at a lego)
- Fusion 360 Software
Introduction
I wanted to create something fun in 3D (as well as relatively simply given this was my first time). I opted to model a red 2x4 lego, as well as a 2nd generation apple pencil, given they both fit nicely into these categories.
1. Starting out in Fusion and Figuring out Dimensions
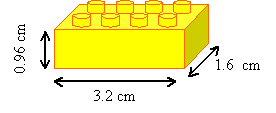
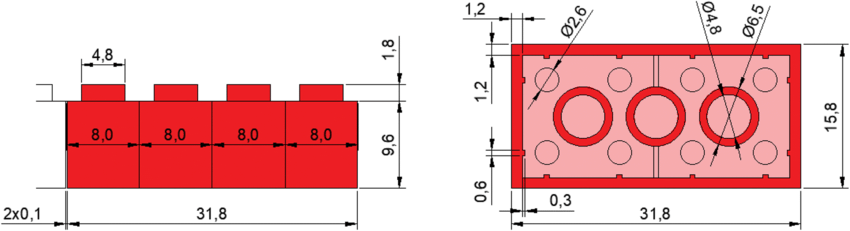
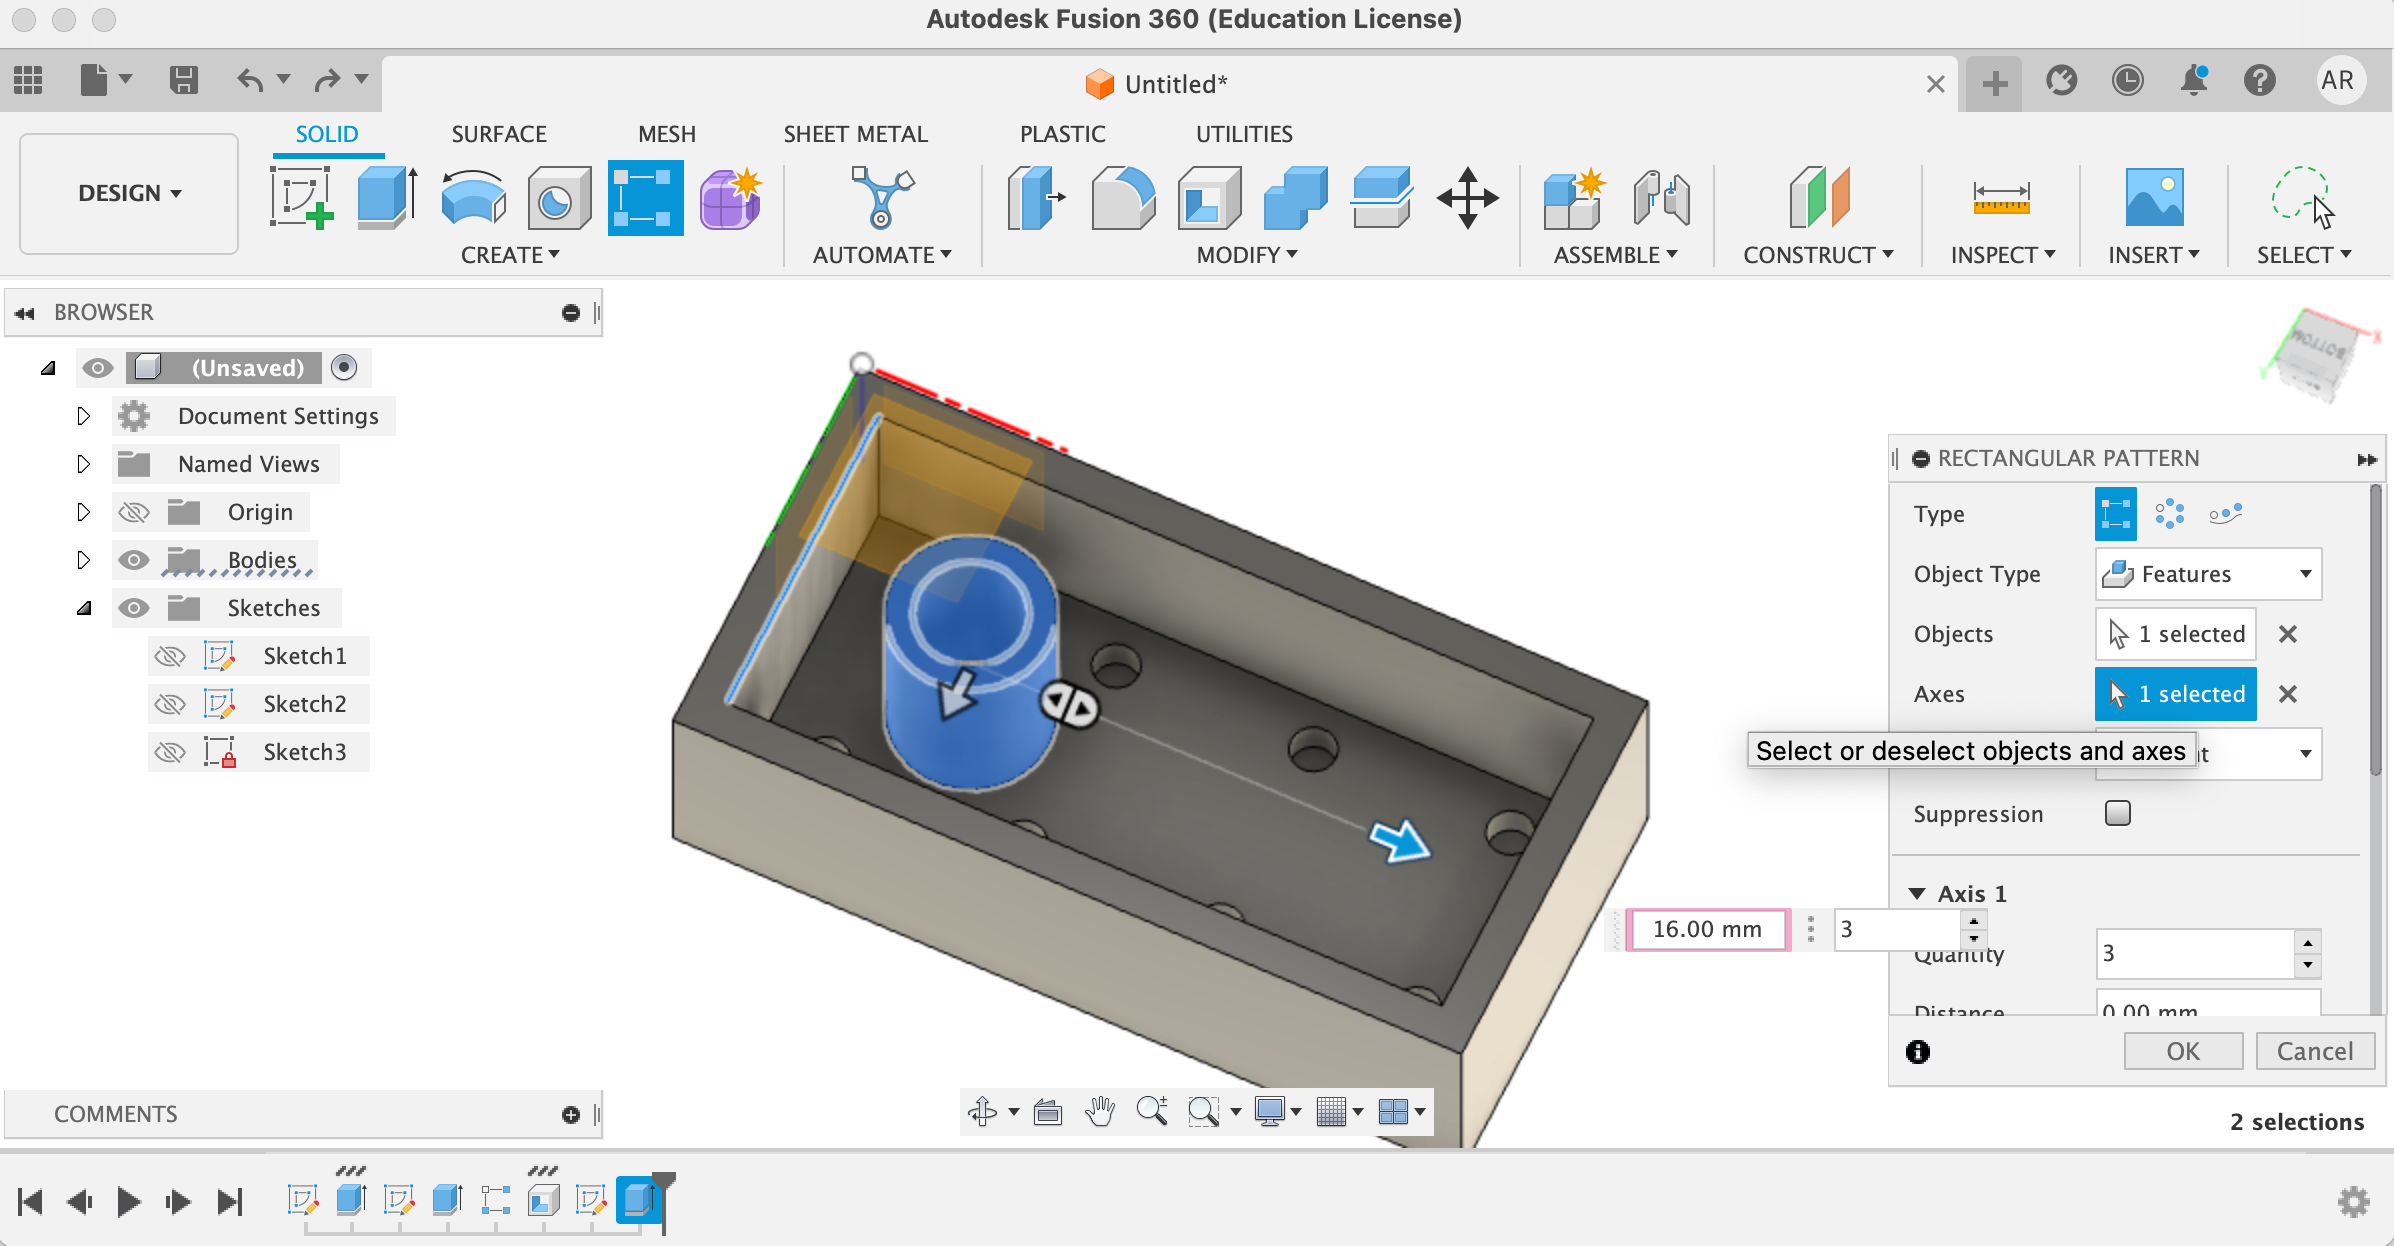
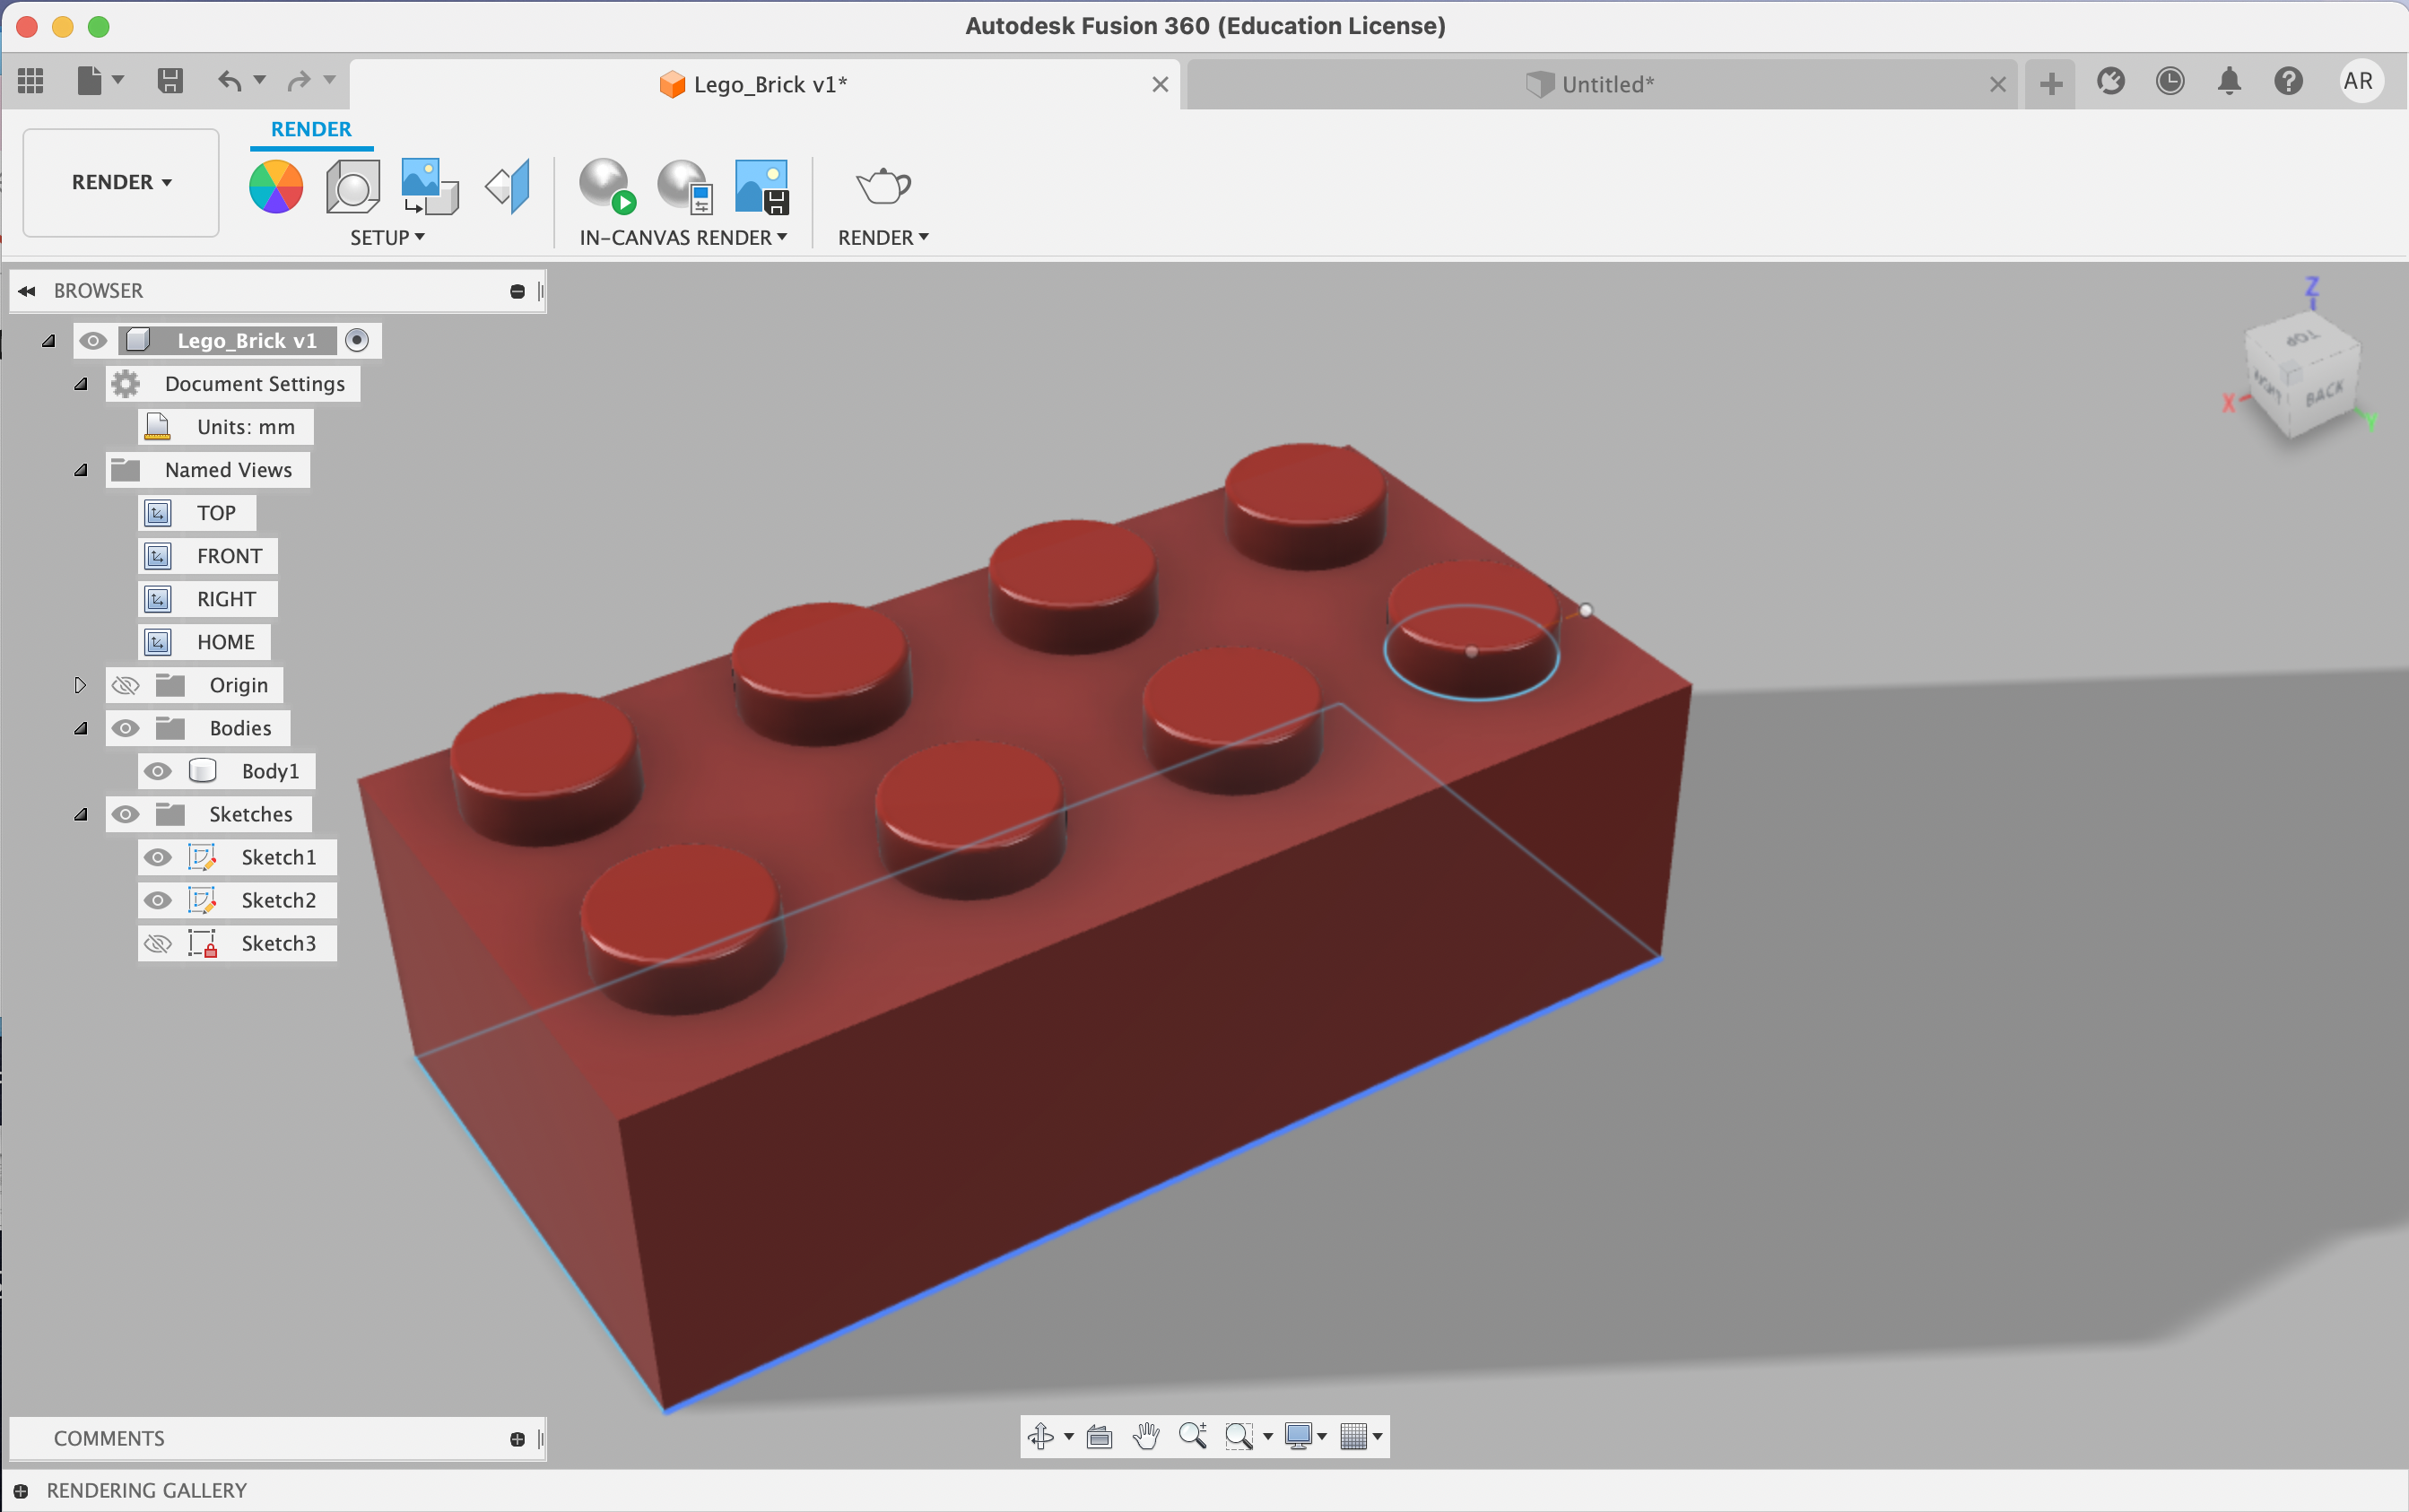
I started with a rectangle sketch (using the above dimensions) . In order to find the spacing between the extruding pieces of the lego (pictured below) and the edge of the lego piece, I did the following: 32mm - (4.8*4mm), which left me left with 12.8mm to play with. Further, 12.8-(3.2*3) = 3.2. 1.6mm for the outer edges, and 3.2 between the extruding pieces from the rectangle. In order to add the little notches on top of the lego brick, I selected the top face added a sketch of a circle and when extruding, made sure to “join” the two objects.
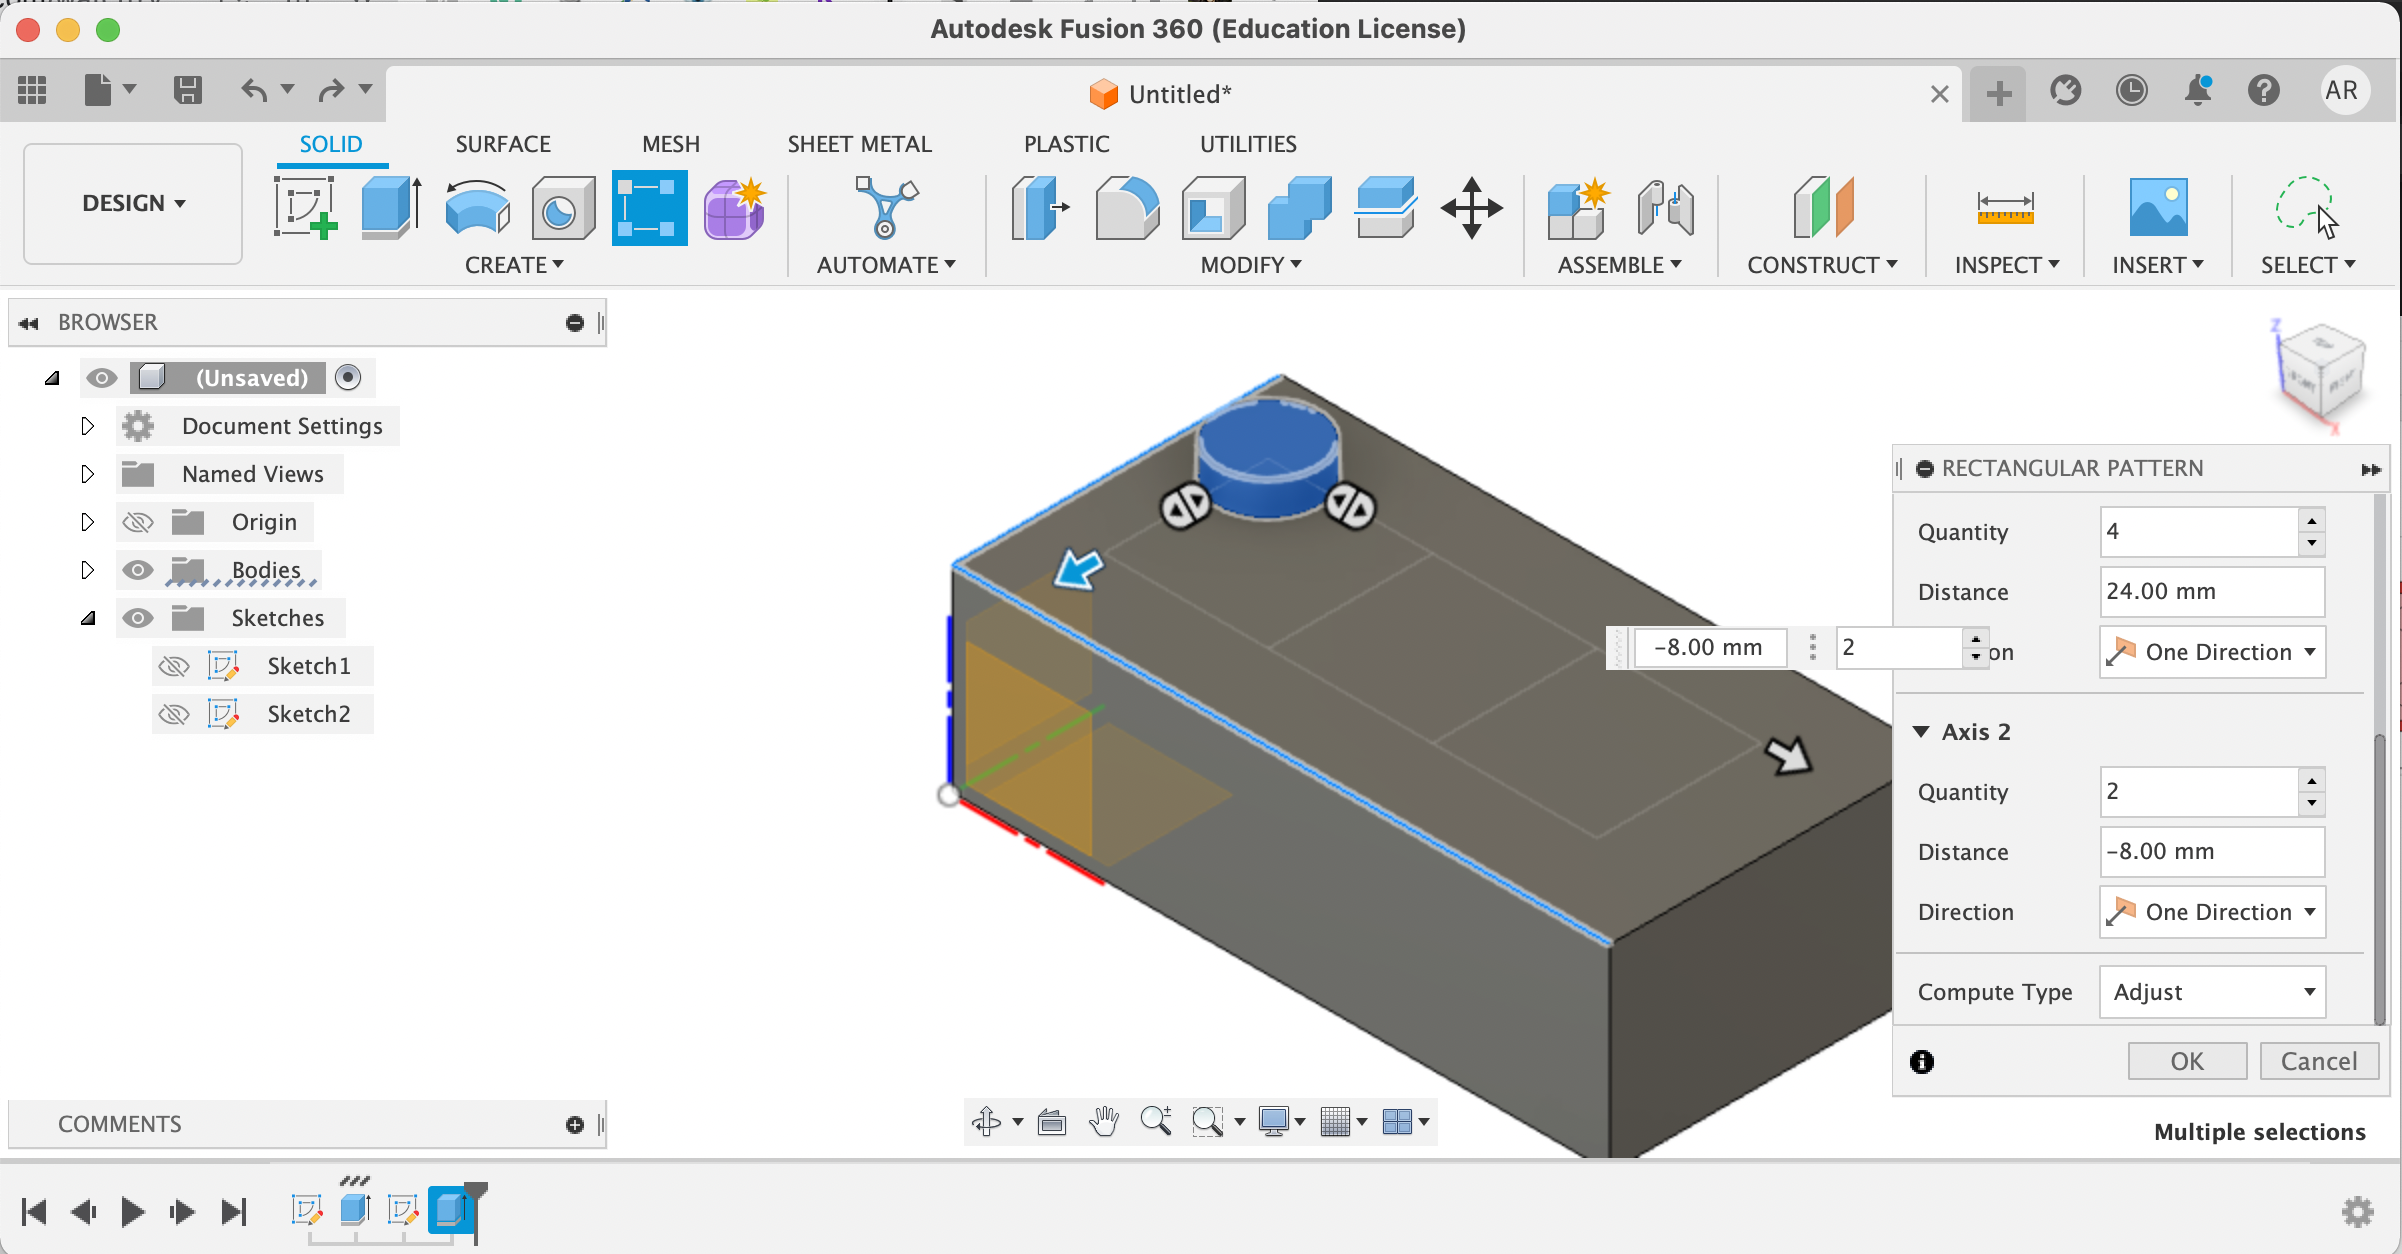
2. Building the Features of the Lego Brick
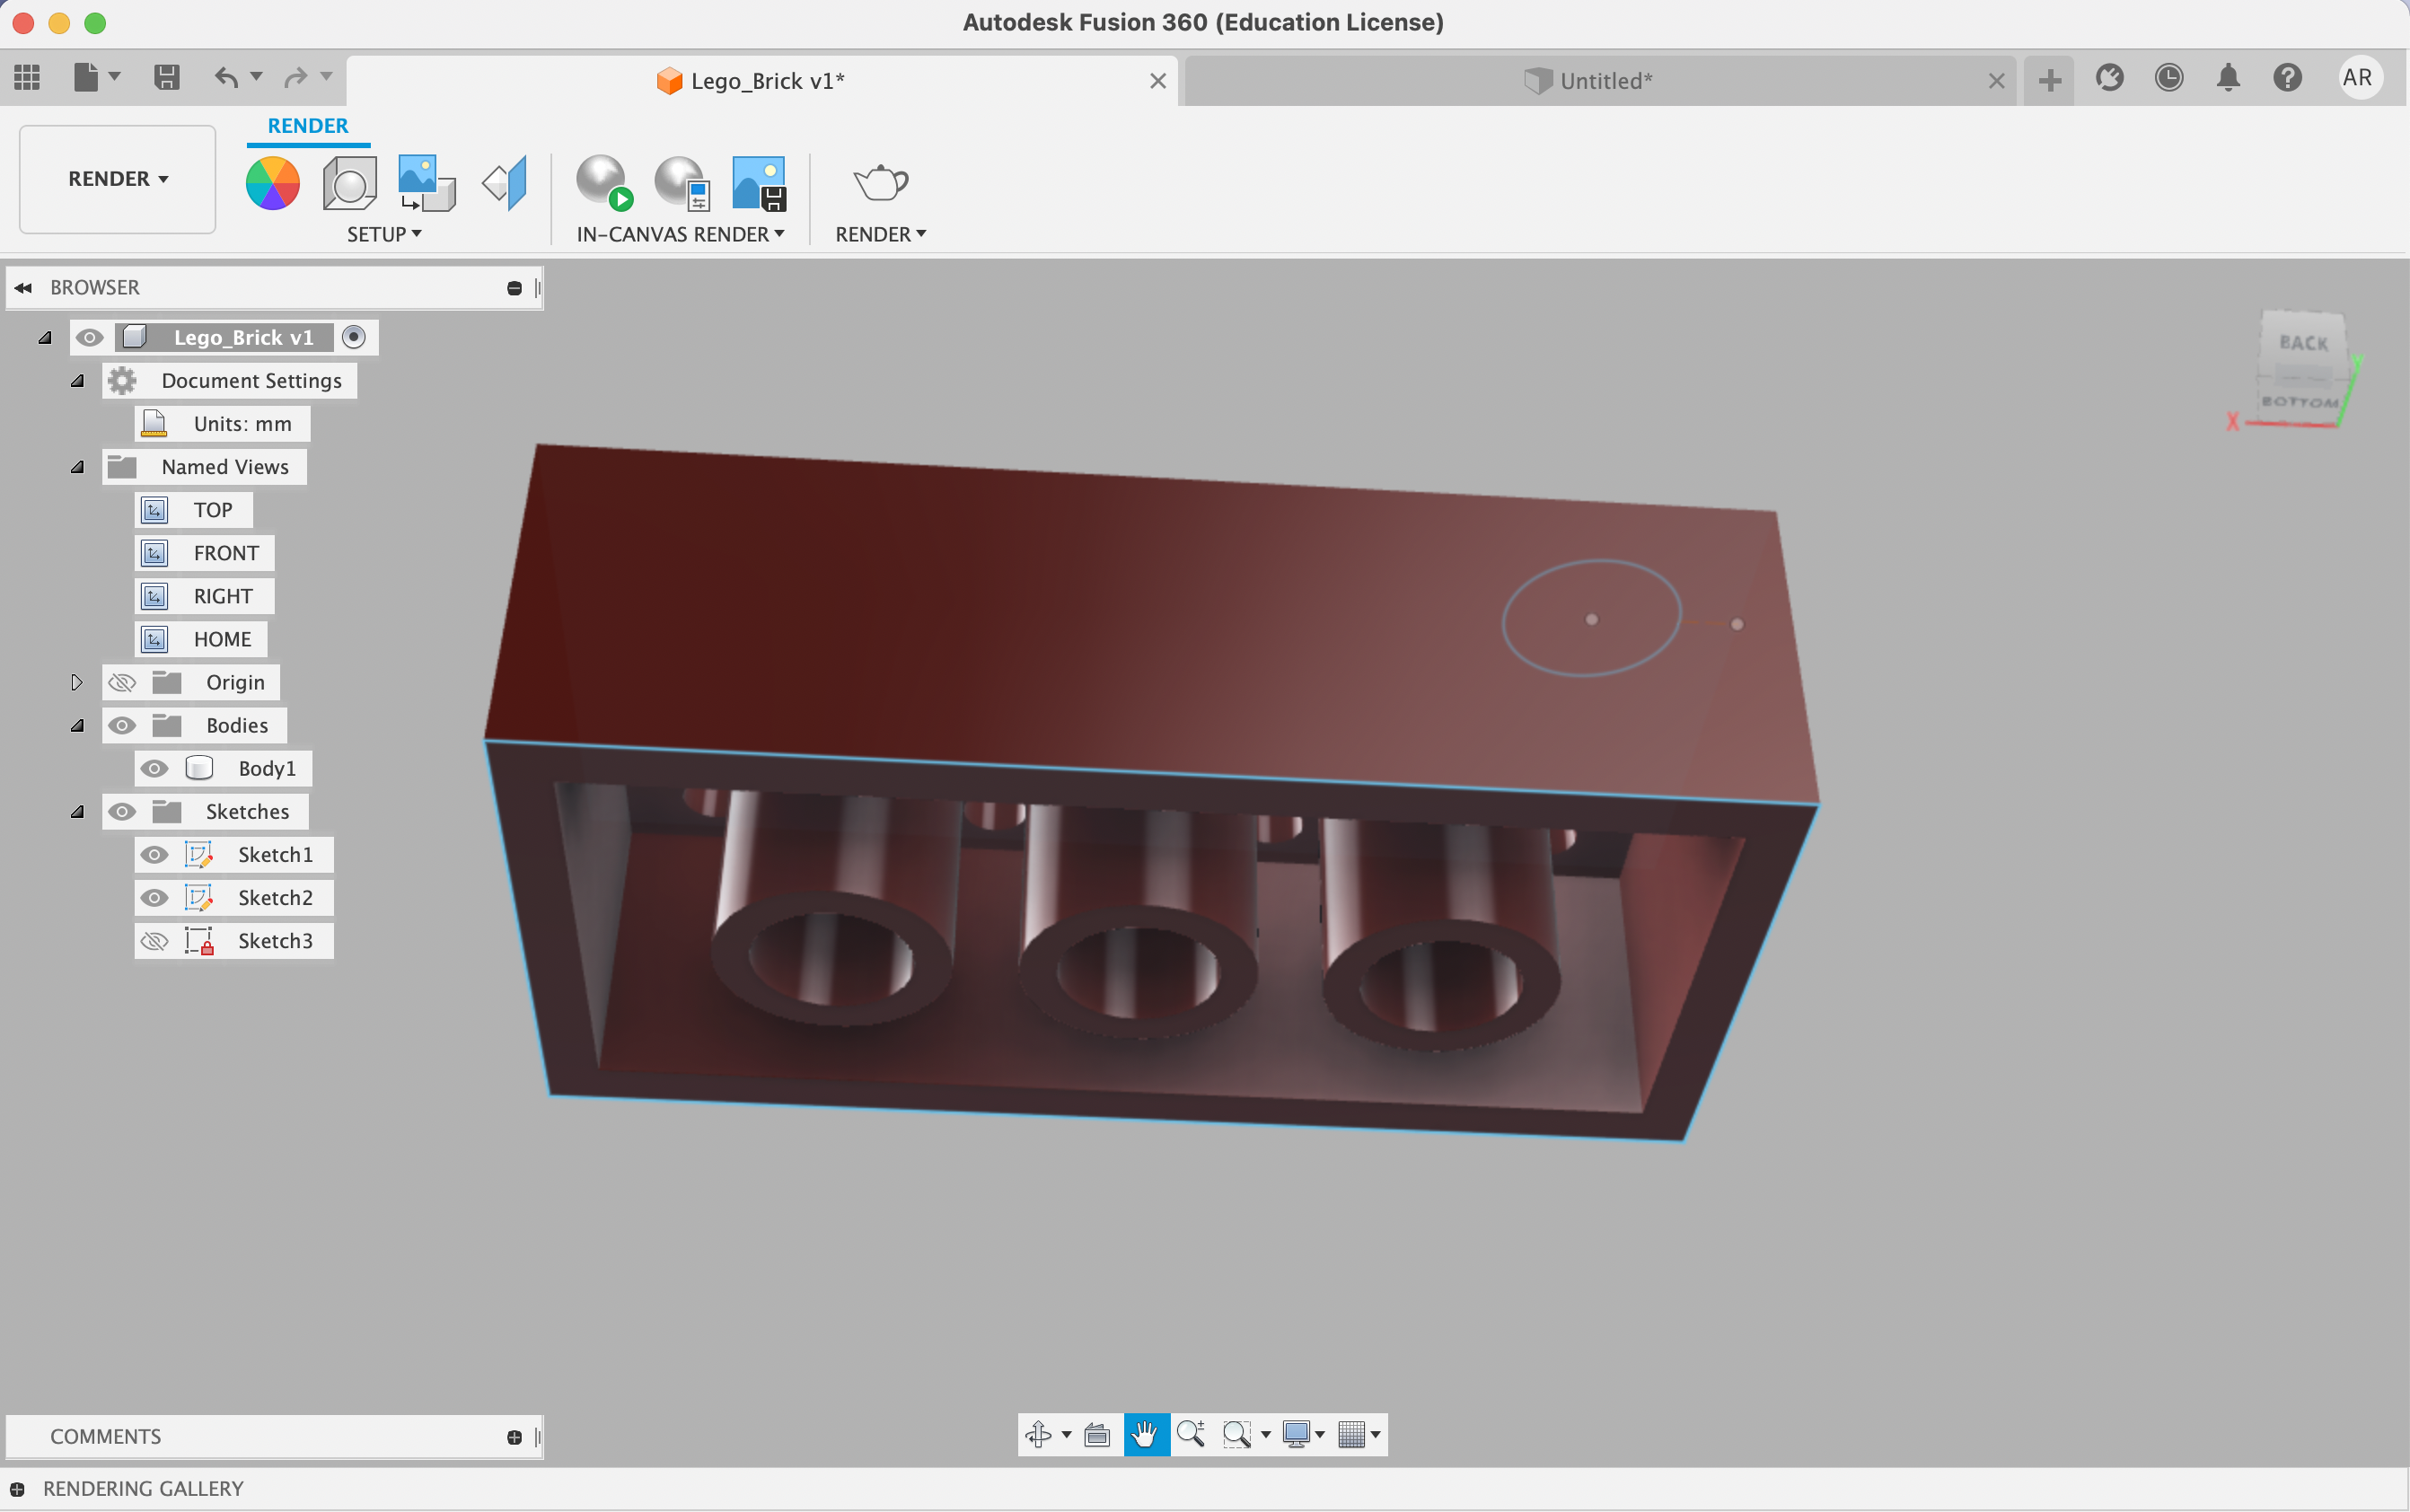
From here, I used the rectangular pattern feature to help me more easily model the lego block notches on top. Lastly, I then use the shell command to hollow out my lego brick. When hollowing out, I specified the thickness to be 1.49mm.
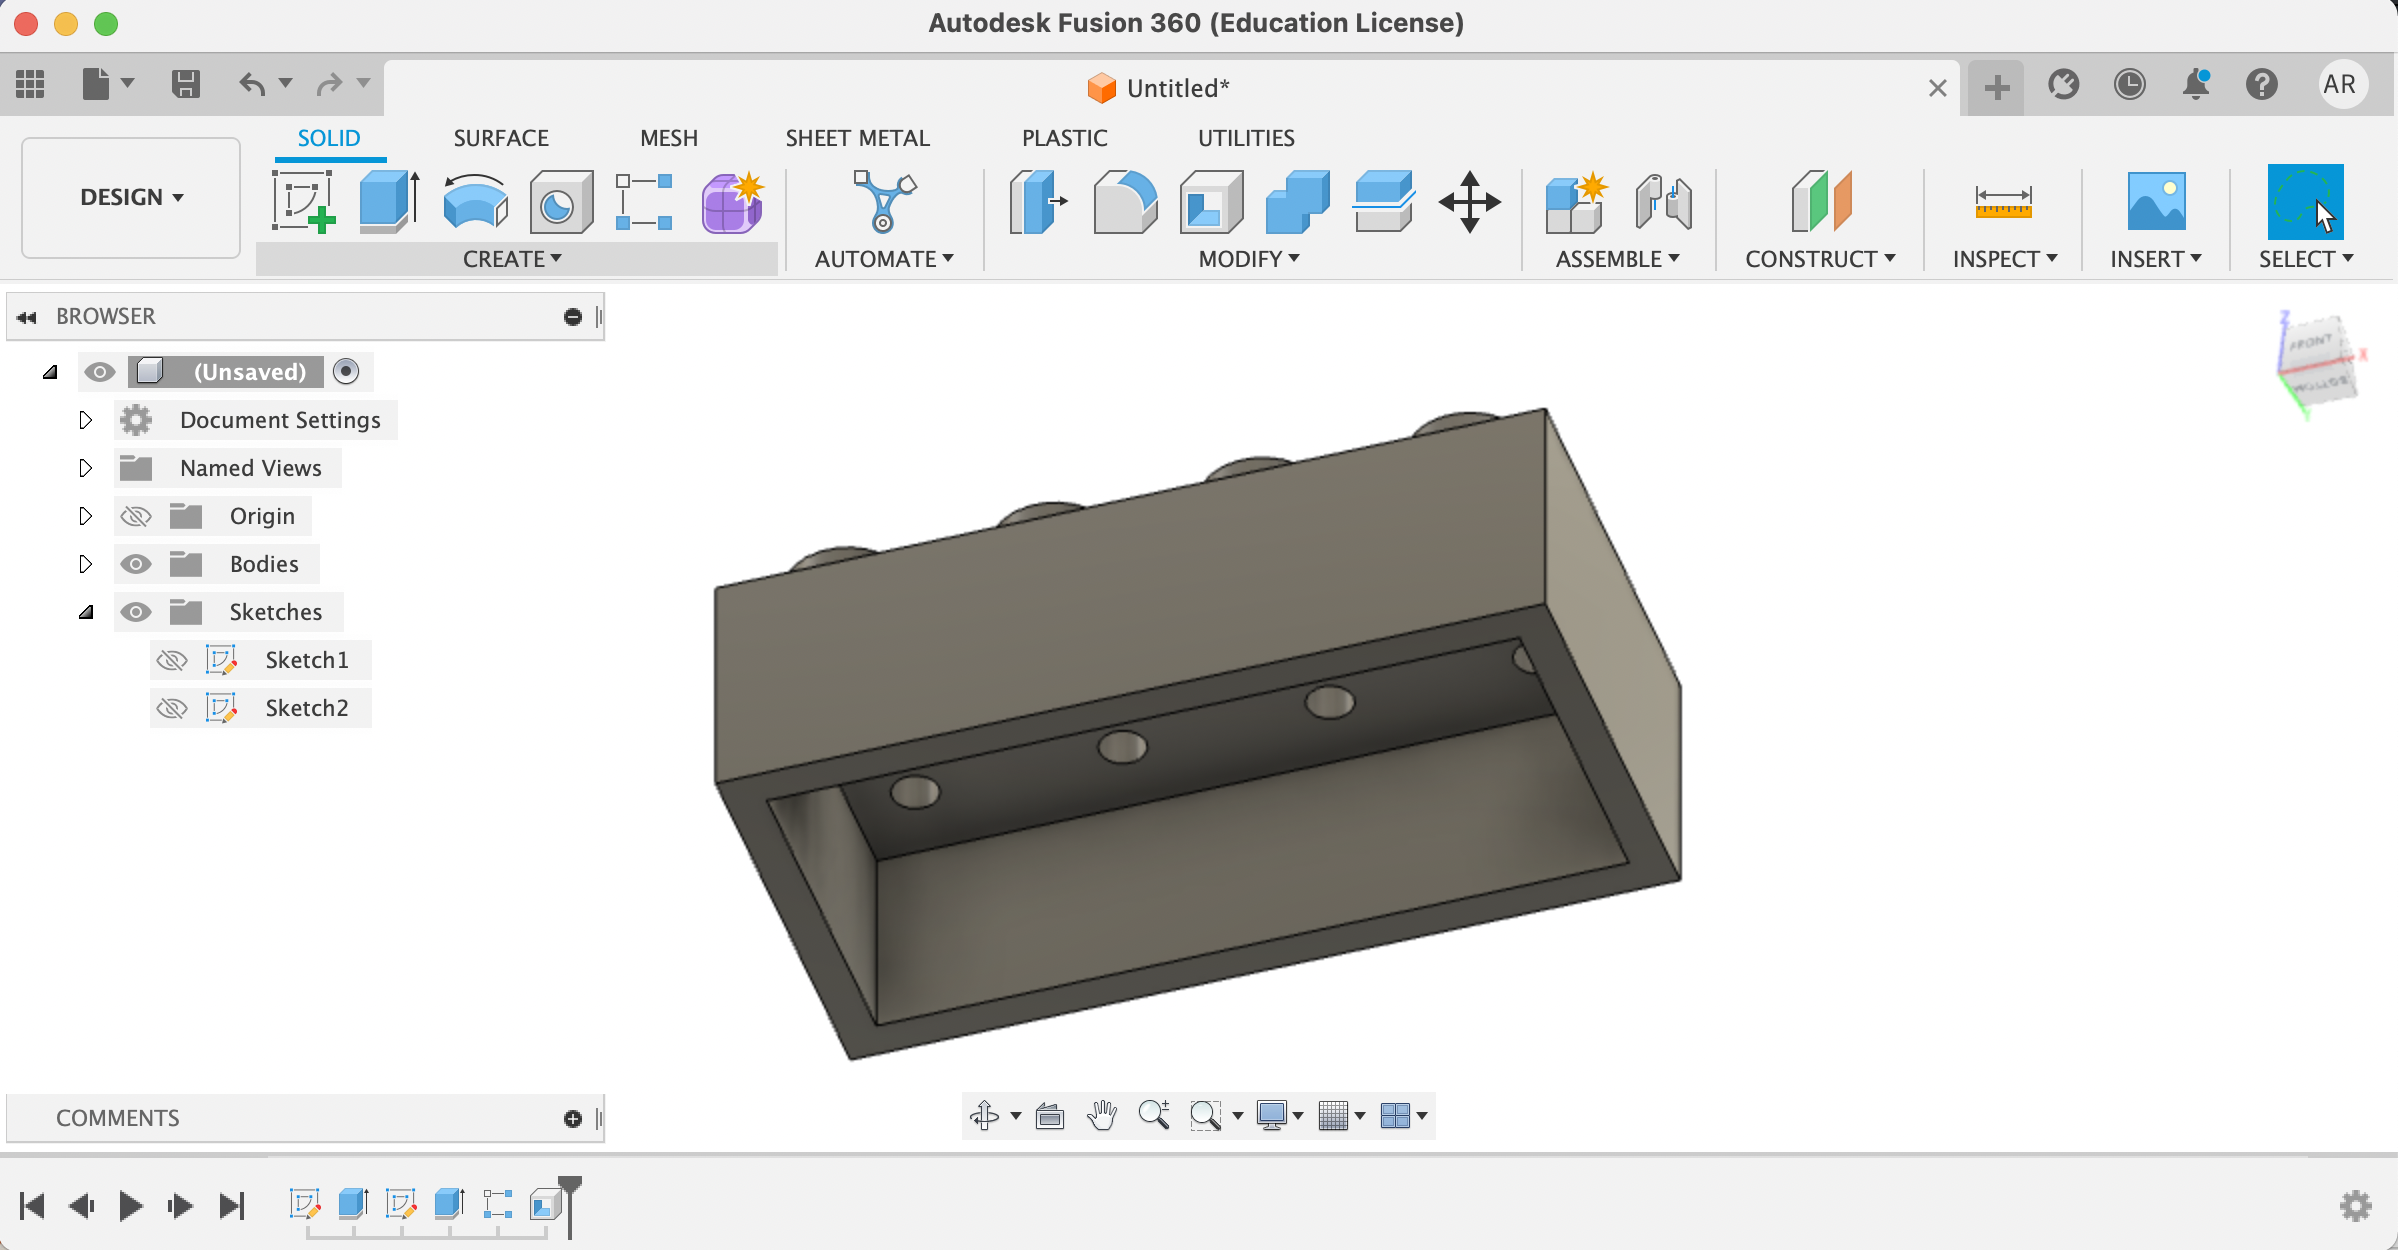
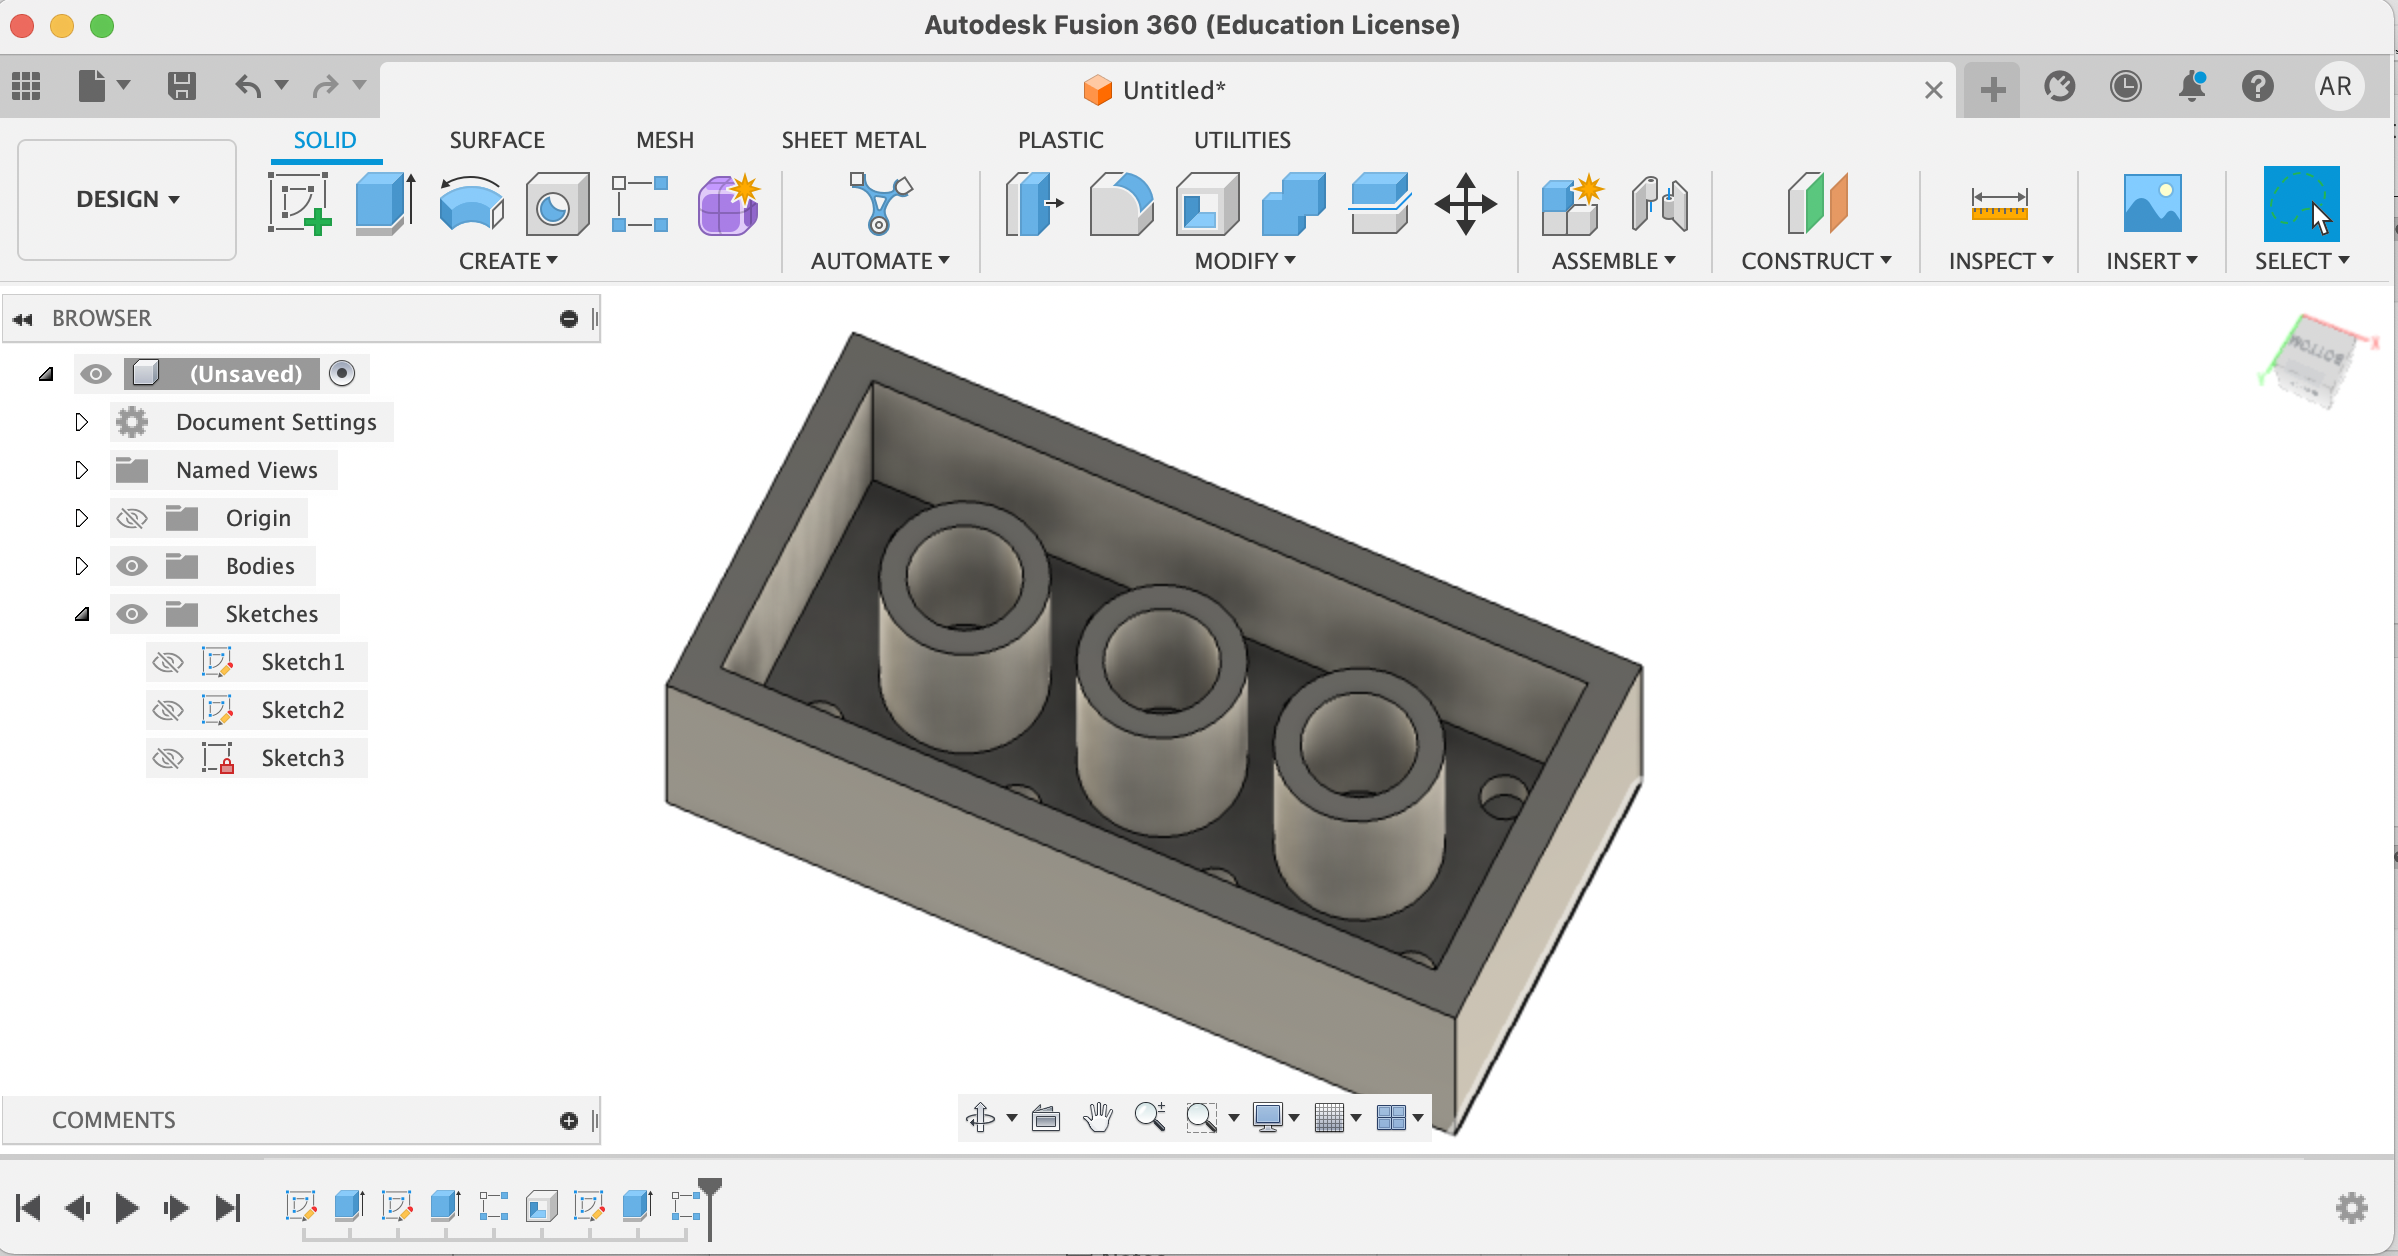
From here, I needed to create additional hollow notches at the bottom (these are the pieces that allow the lego to sit on top of other legos). I did this by sketching a circle on the inside of the lego, and then adding an offset circle. Deleting the inside, I then extruded this shape, as seen below.
I once again use the rectangular pattern function to make my life easier when duplication
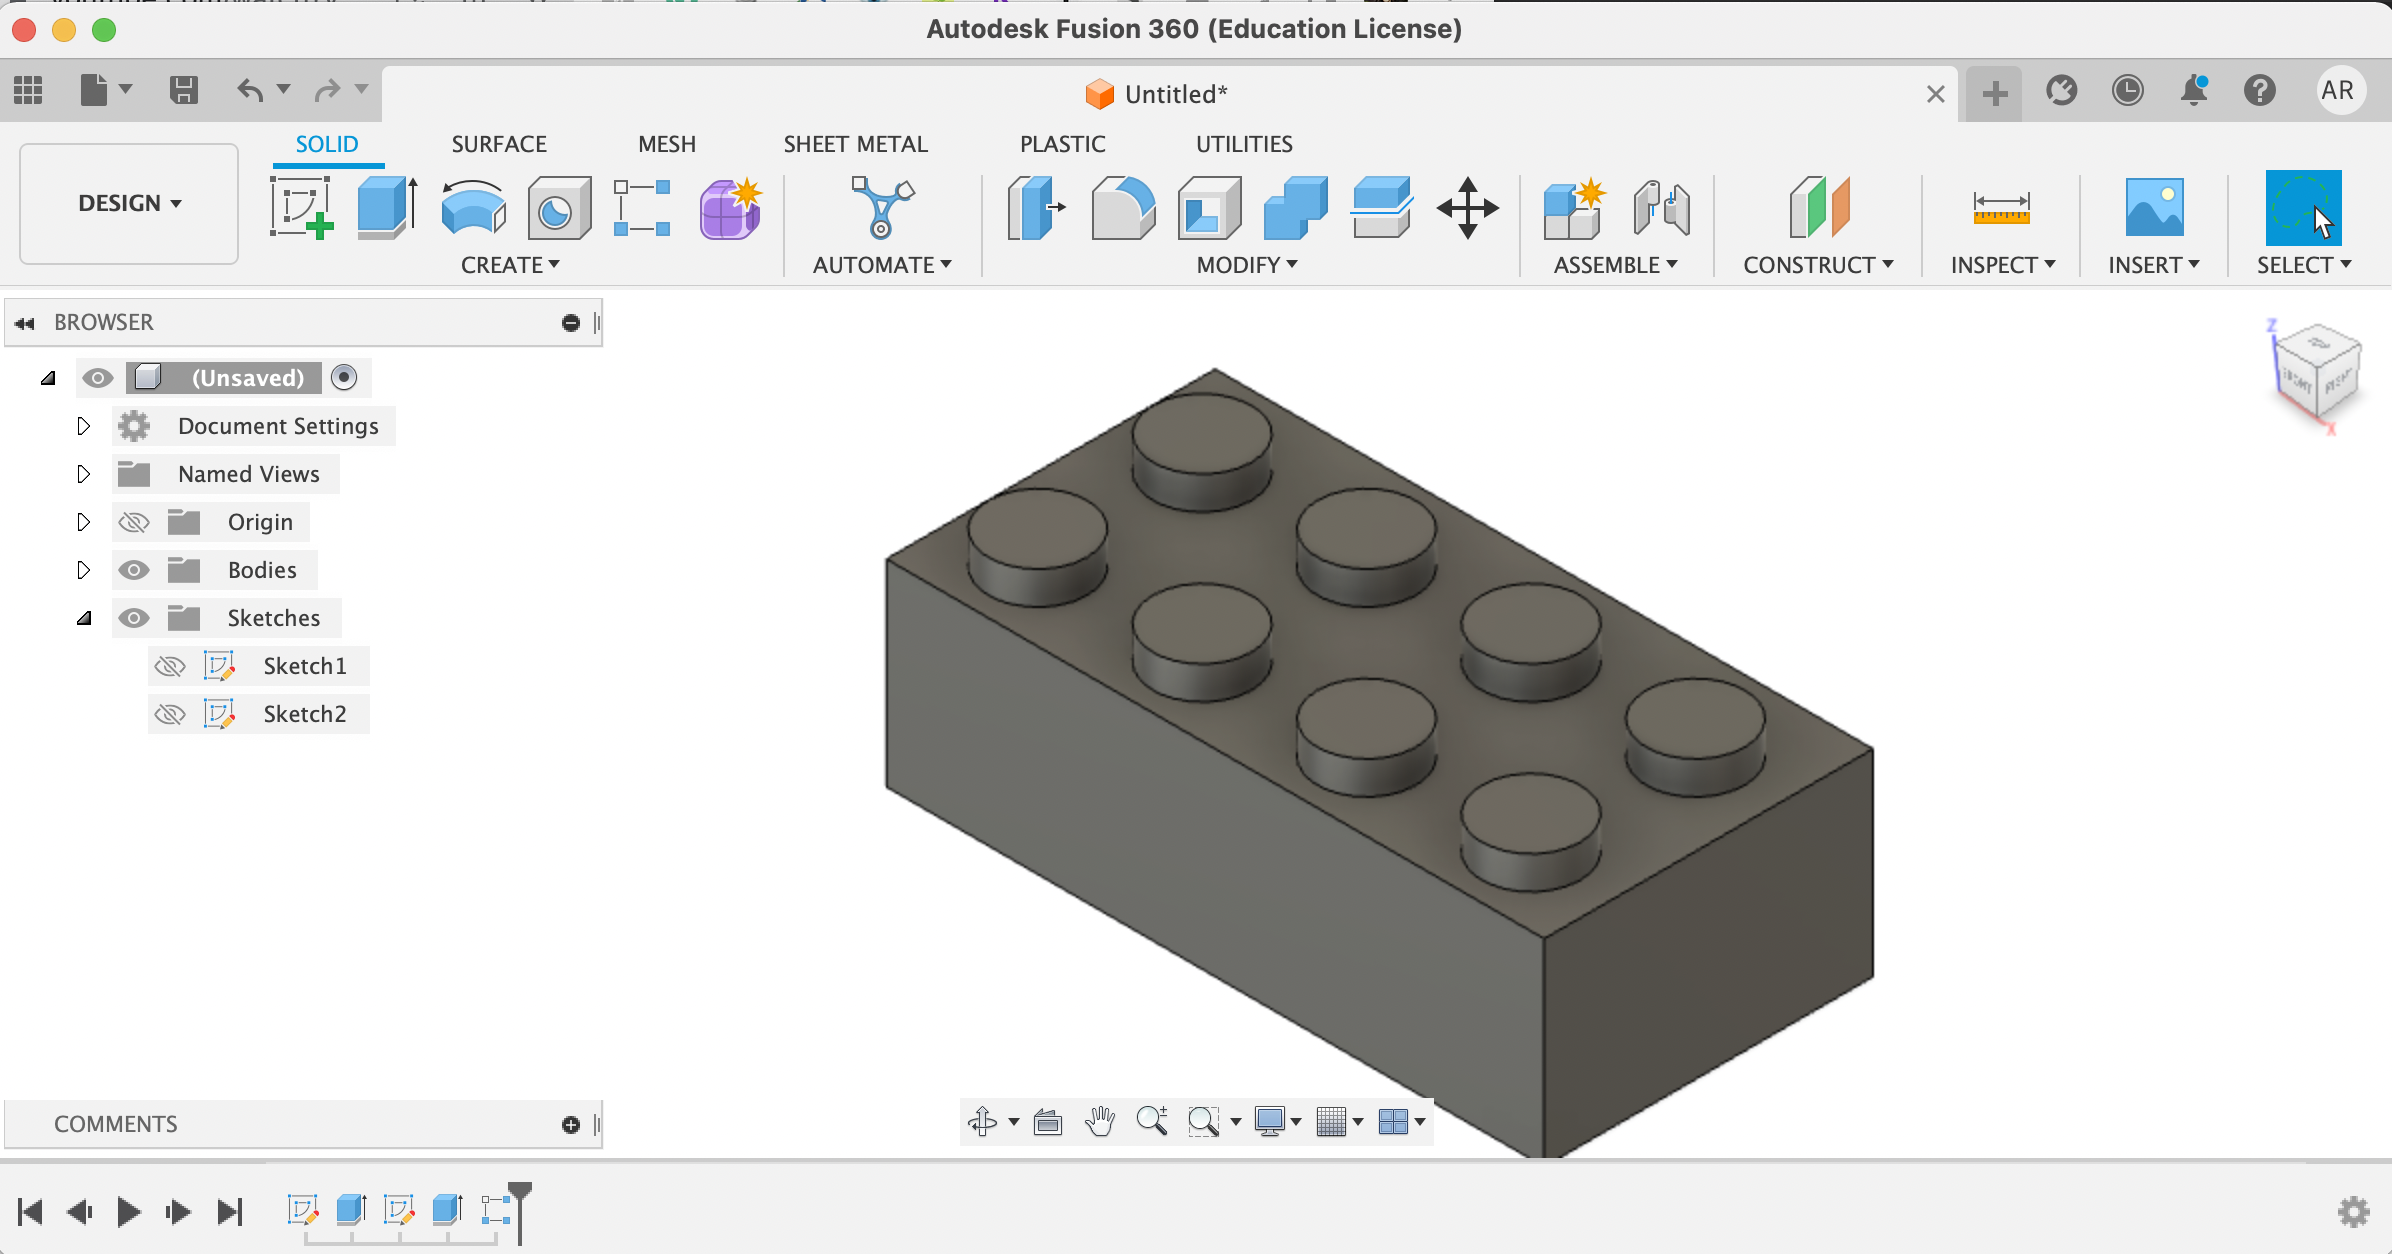
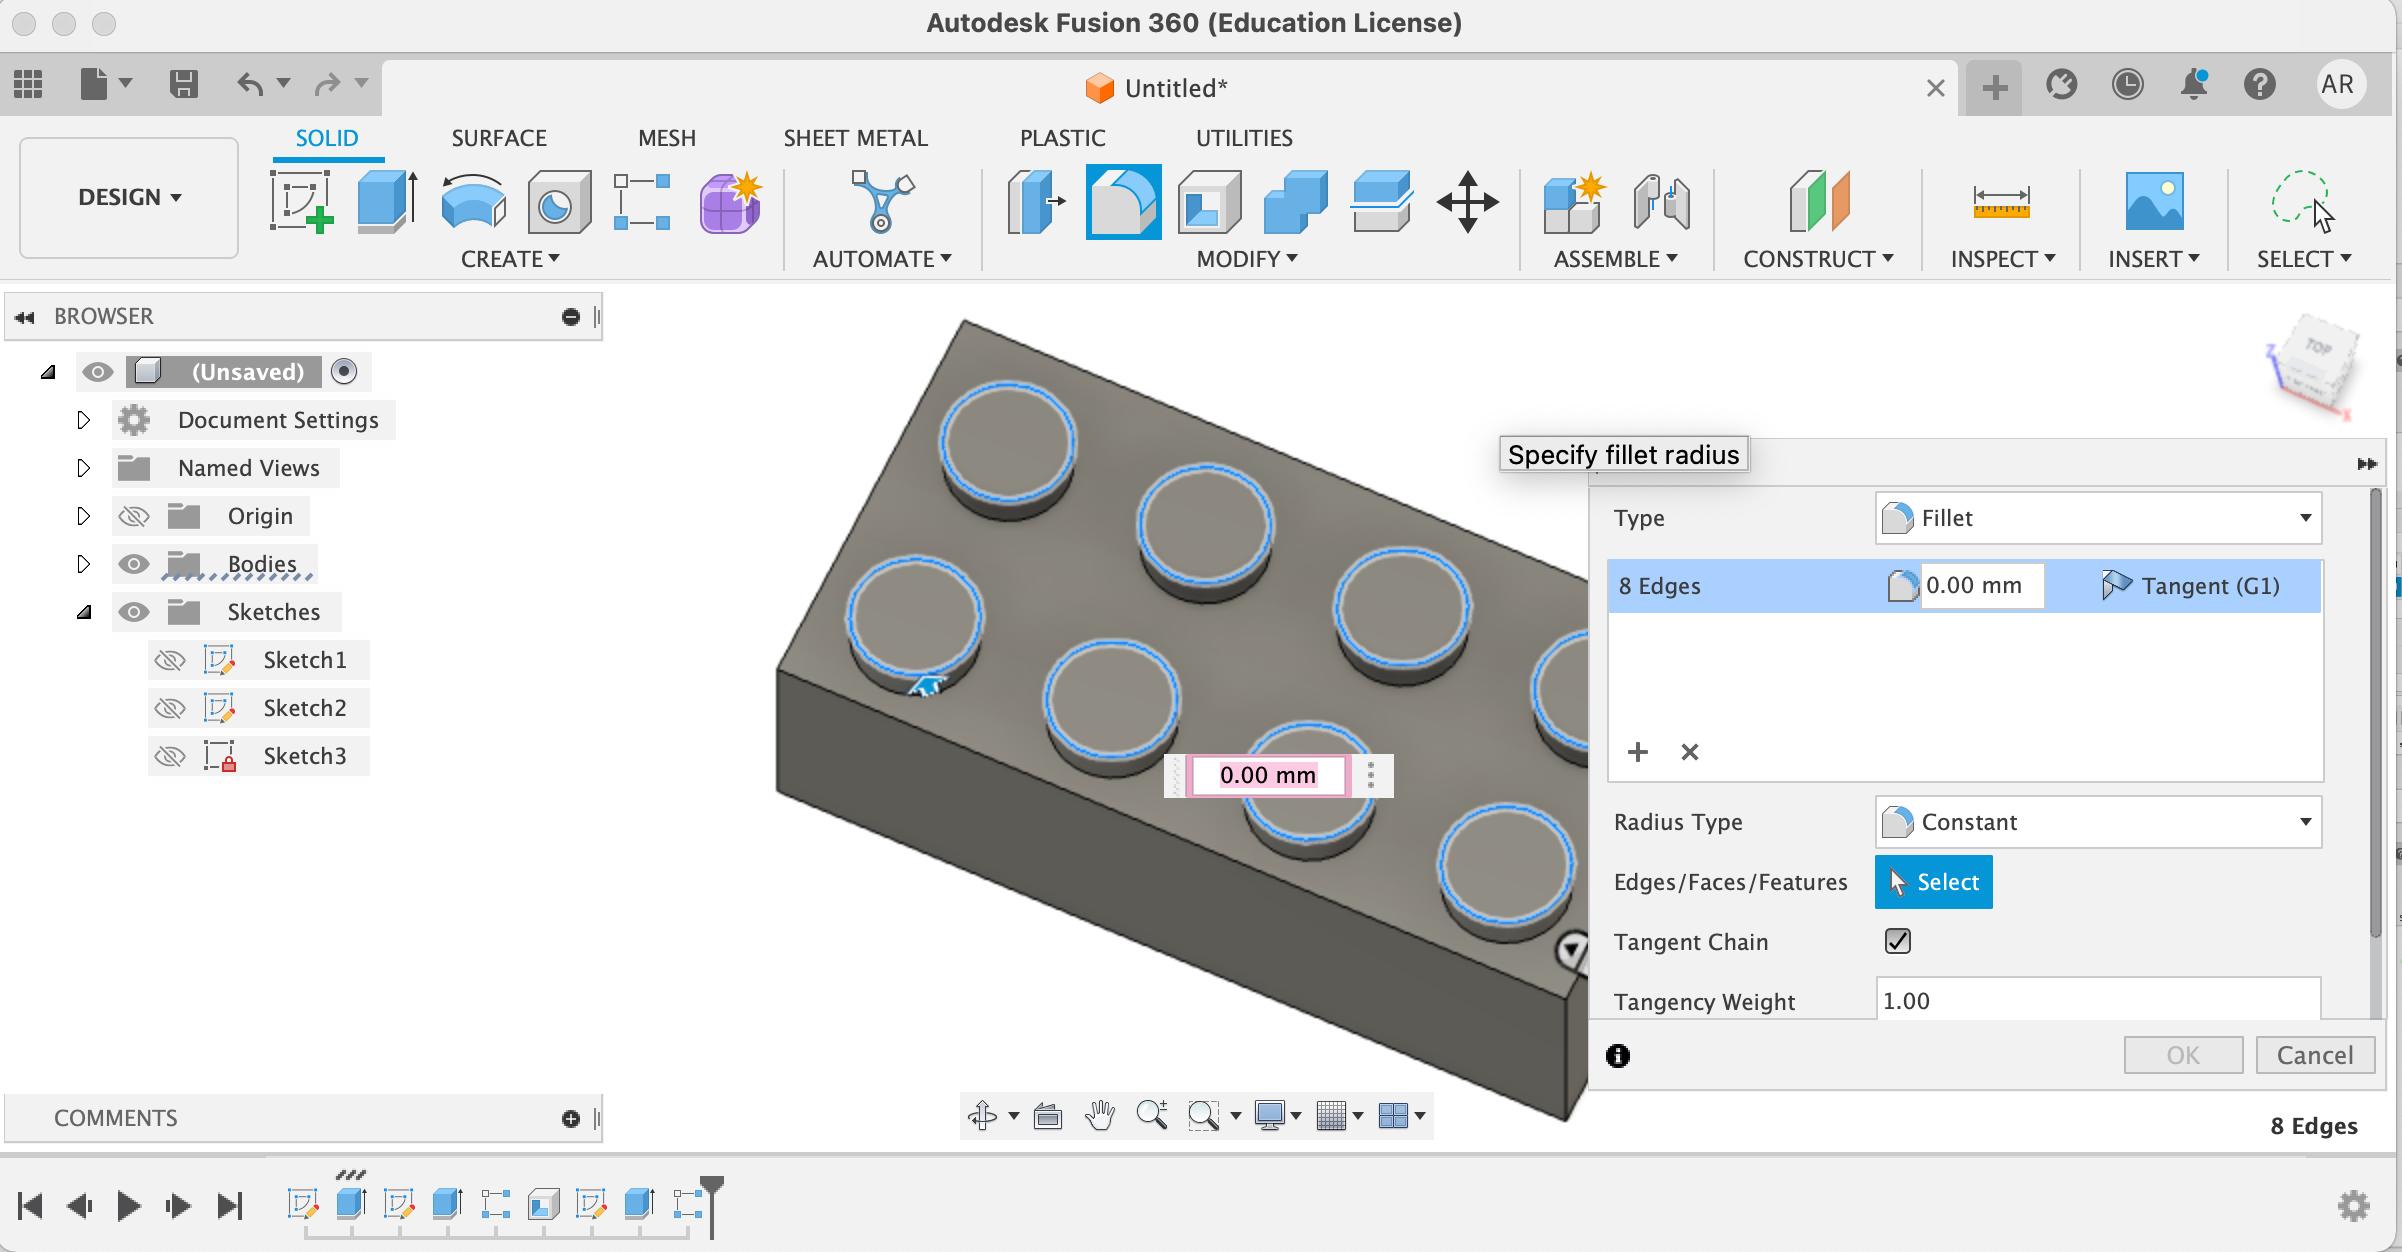
I then filleted the sharp edges of the notches on top (for aesthetic purposes, of course).
I then applied some color (modify > appearance > patin - enamel glossy (red))
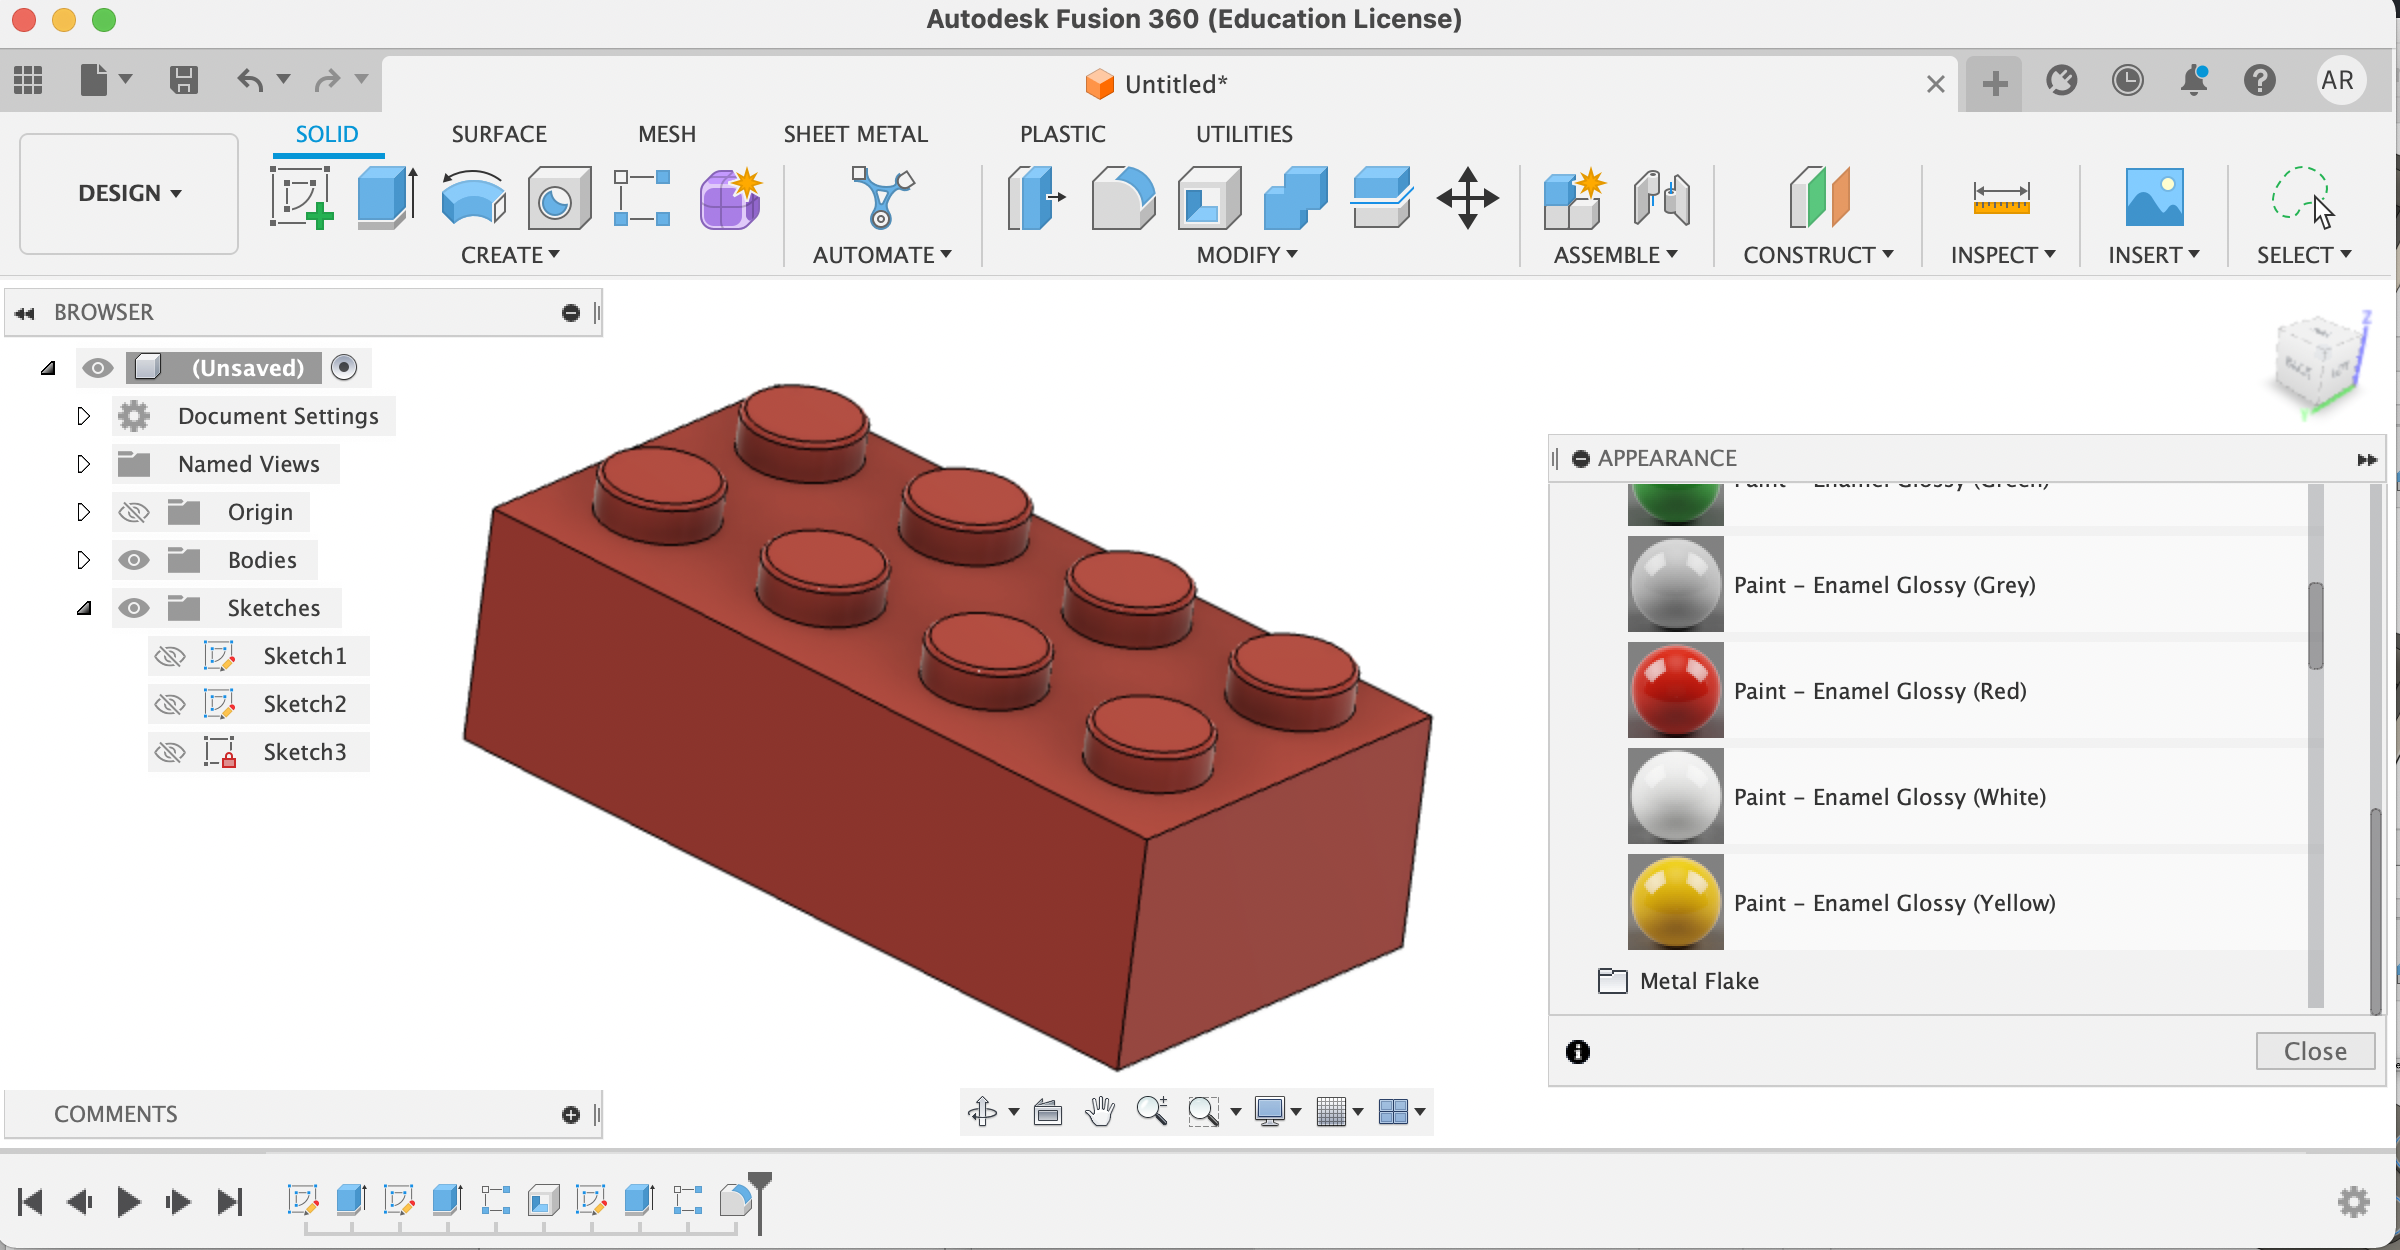
3. Showcasing the brick!
Modeling Household Objetcs - 2nd Gen Apple Pencil
Materials
- Calipers
- Household objects (I looked at a second gen apple pencil)
- Fusion 360 Software
Introduction
Same as above! I wanted to model something both "easy" and fun, and an apple pencil fit this description.
1. Measuring
I first started with measuring my object with calipers, and achieve the following: 8.18mm body diameter, 4.80mm cone diameter, 8.60mm length of tip, and 166mm length of body.
2. Using Fusion 360
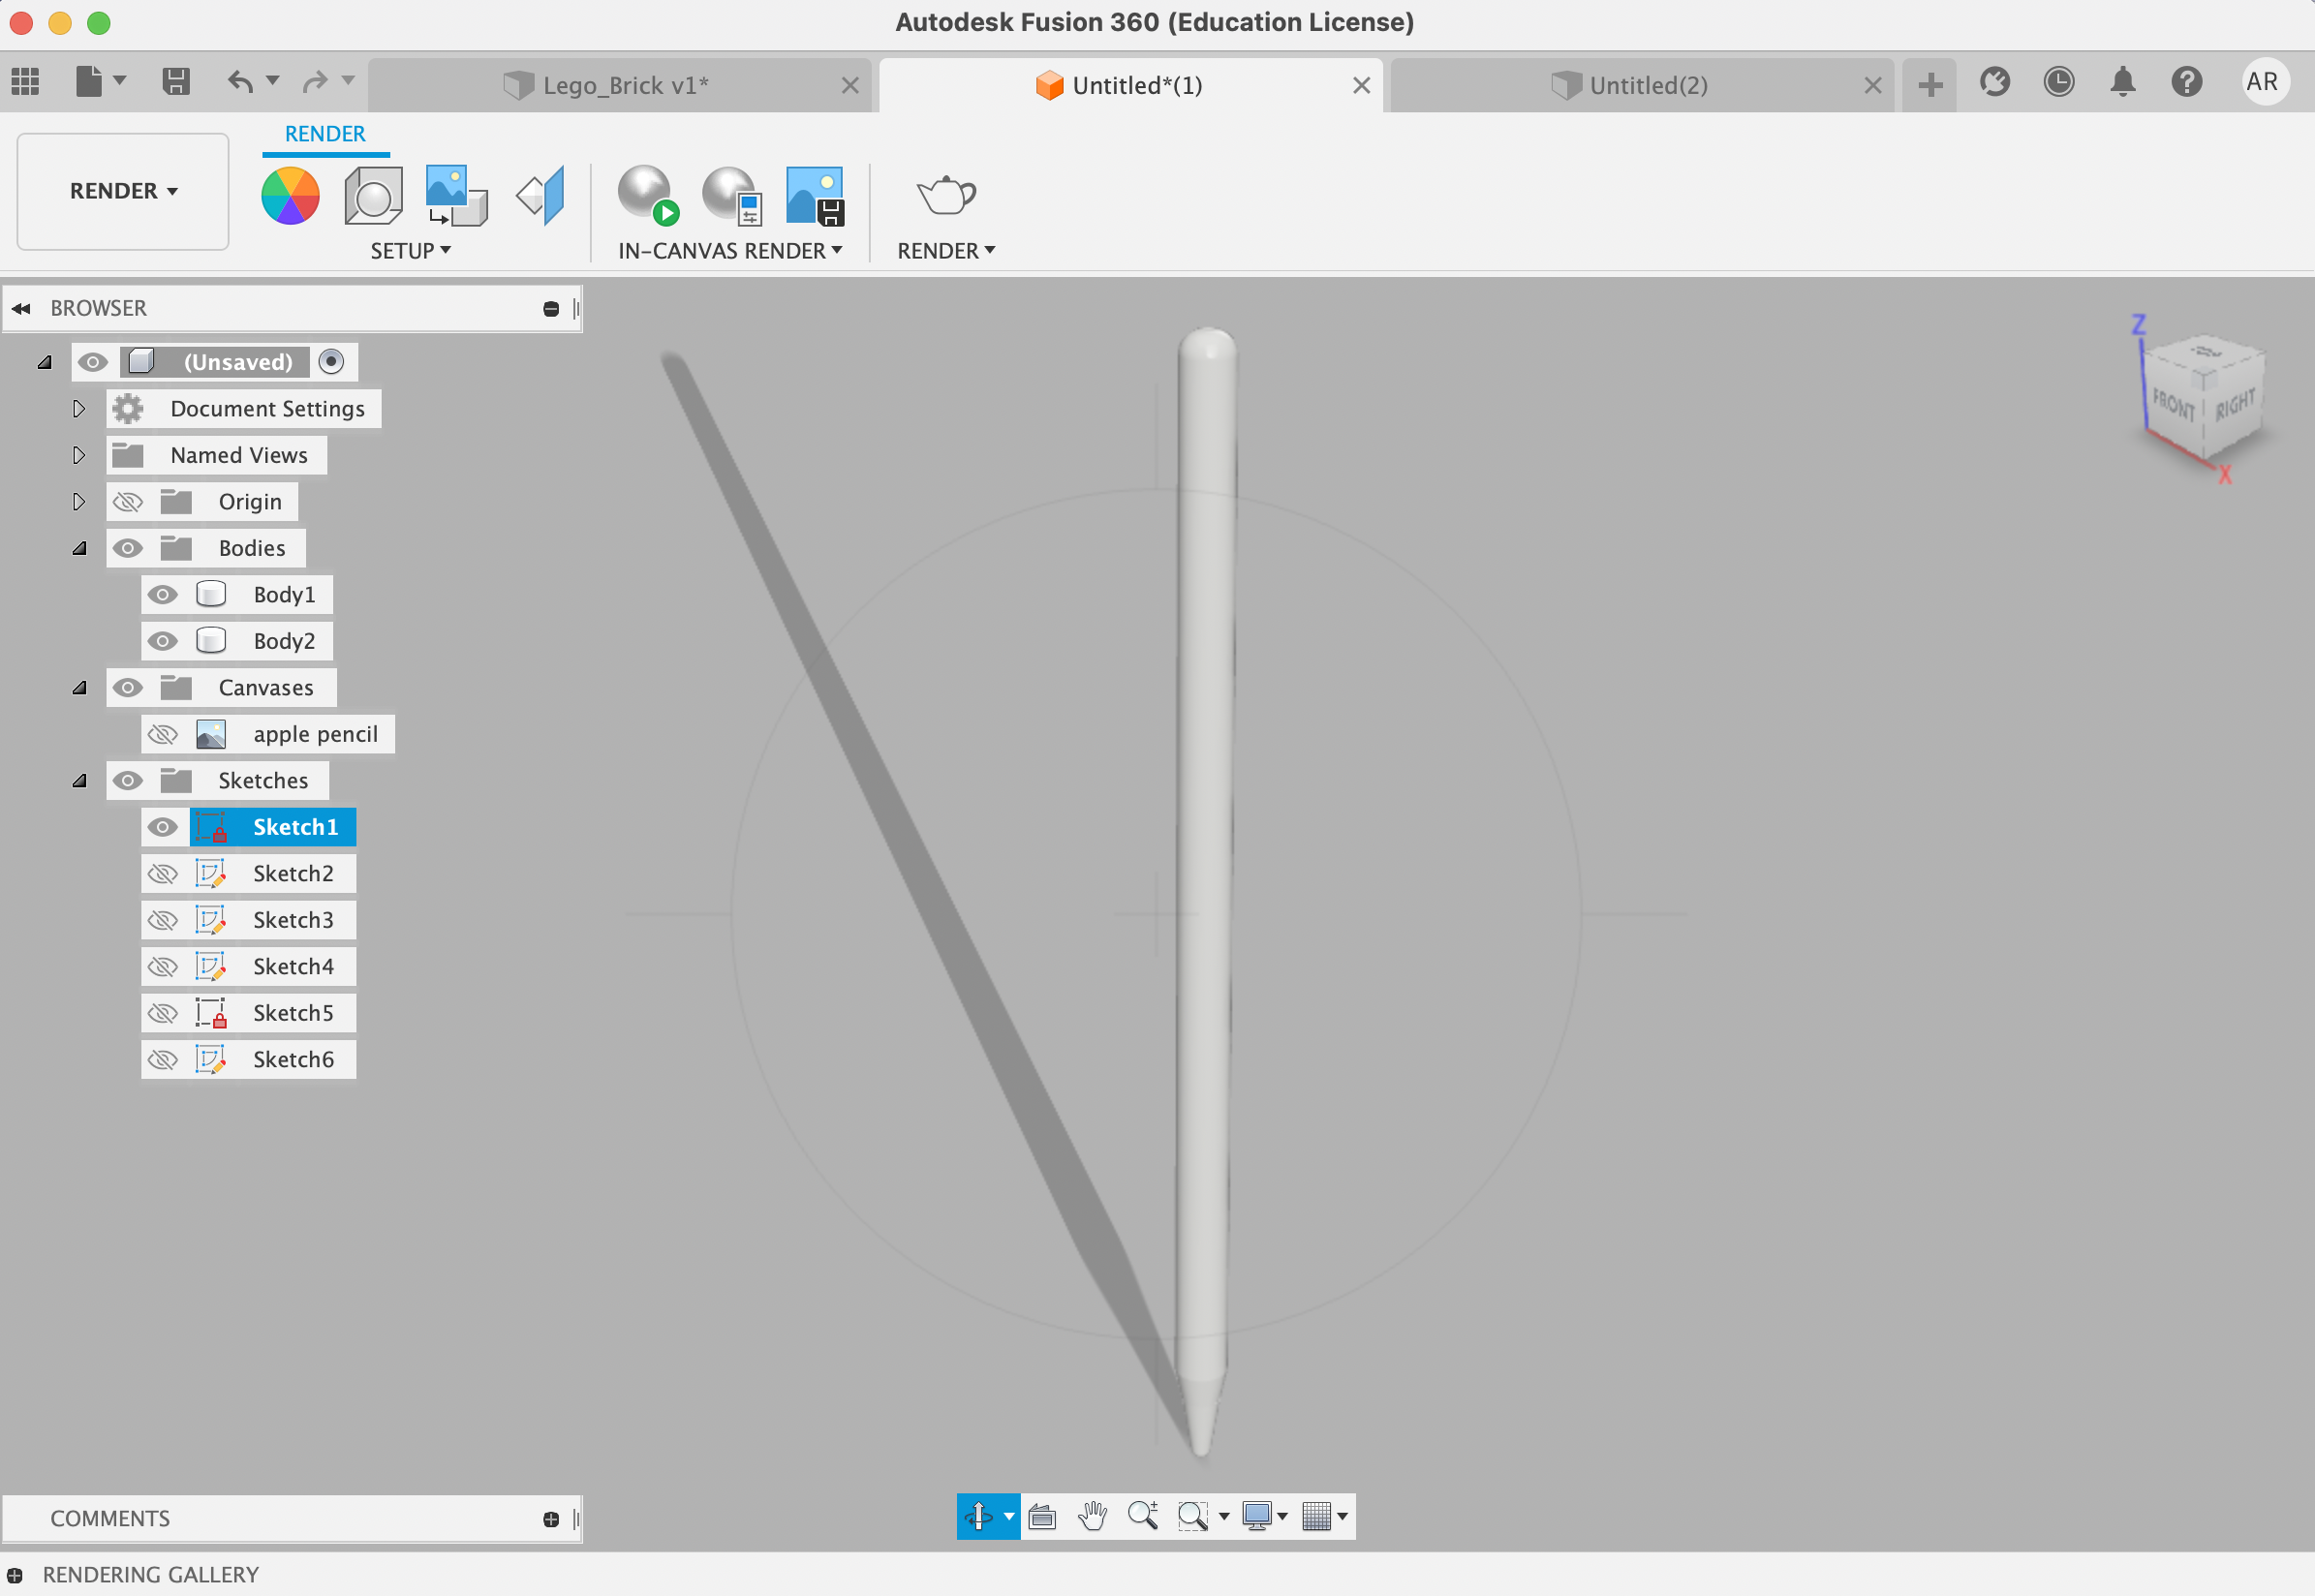
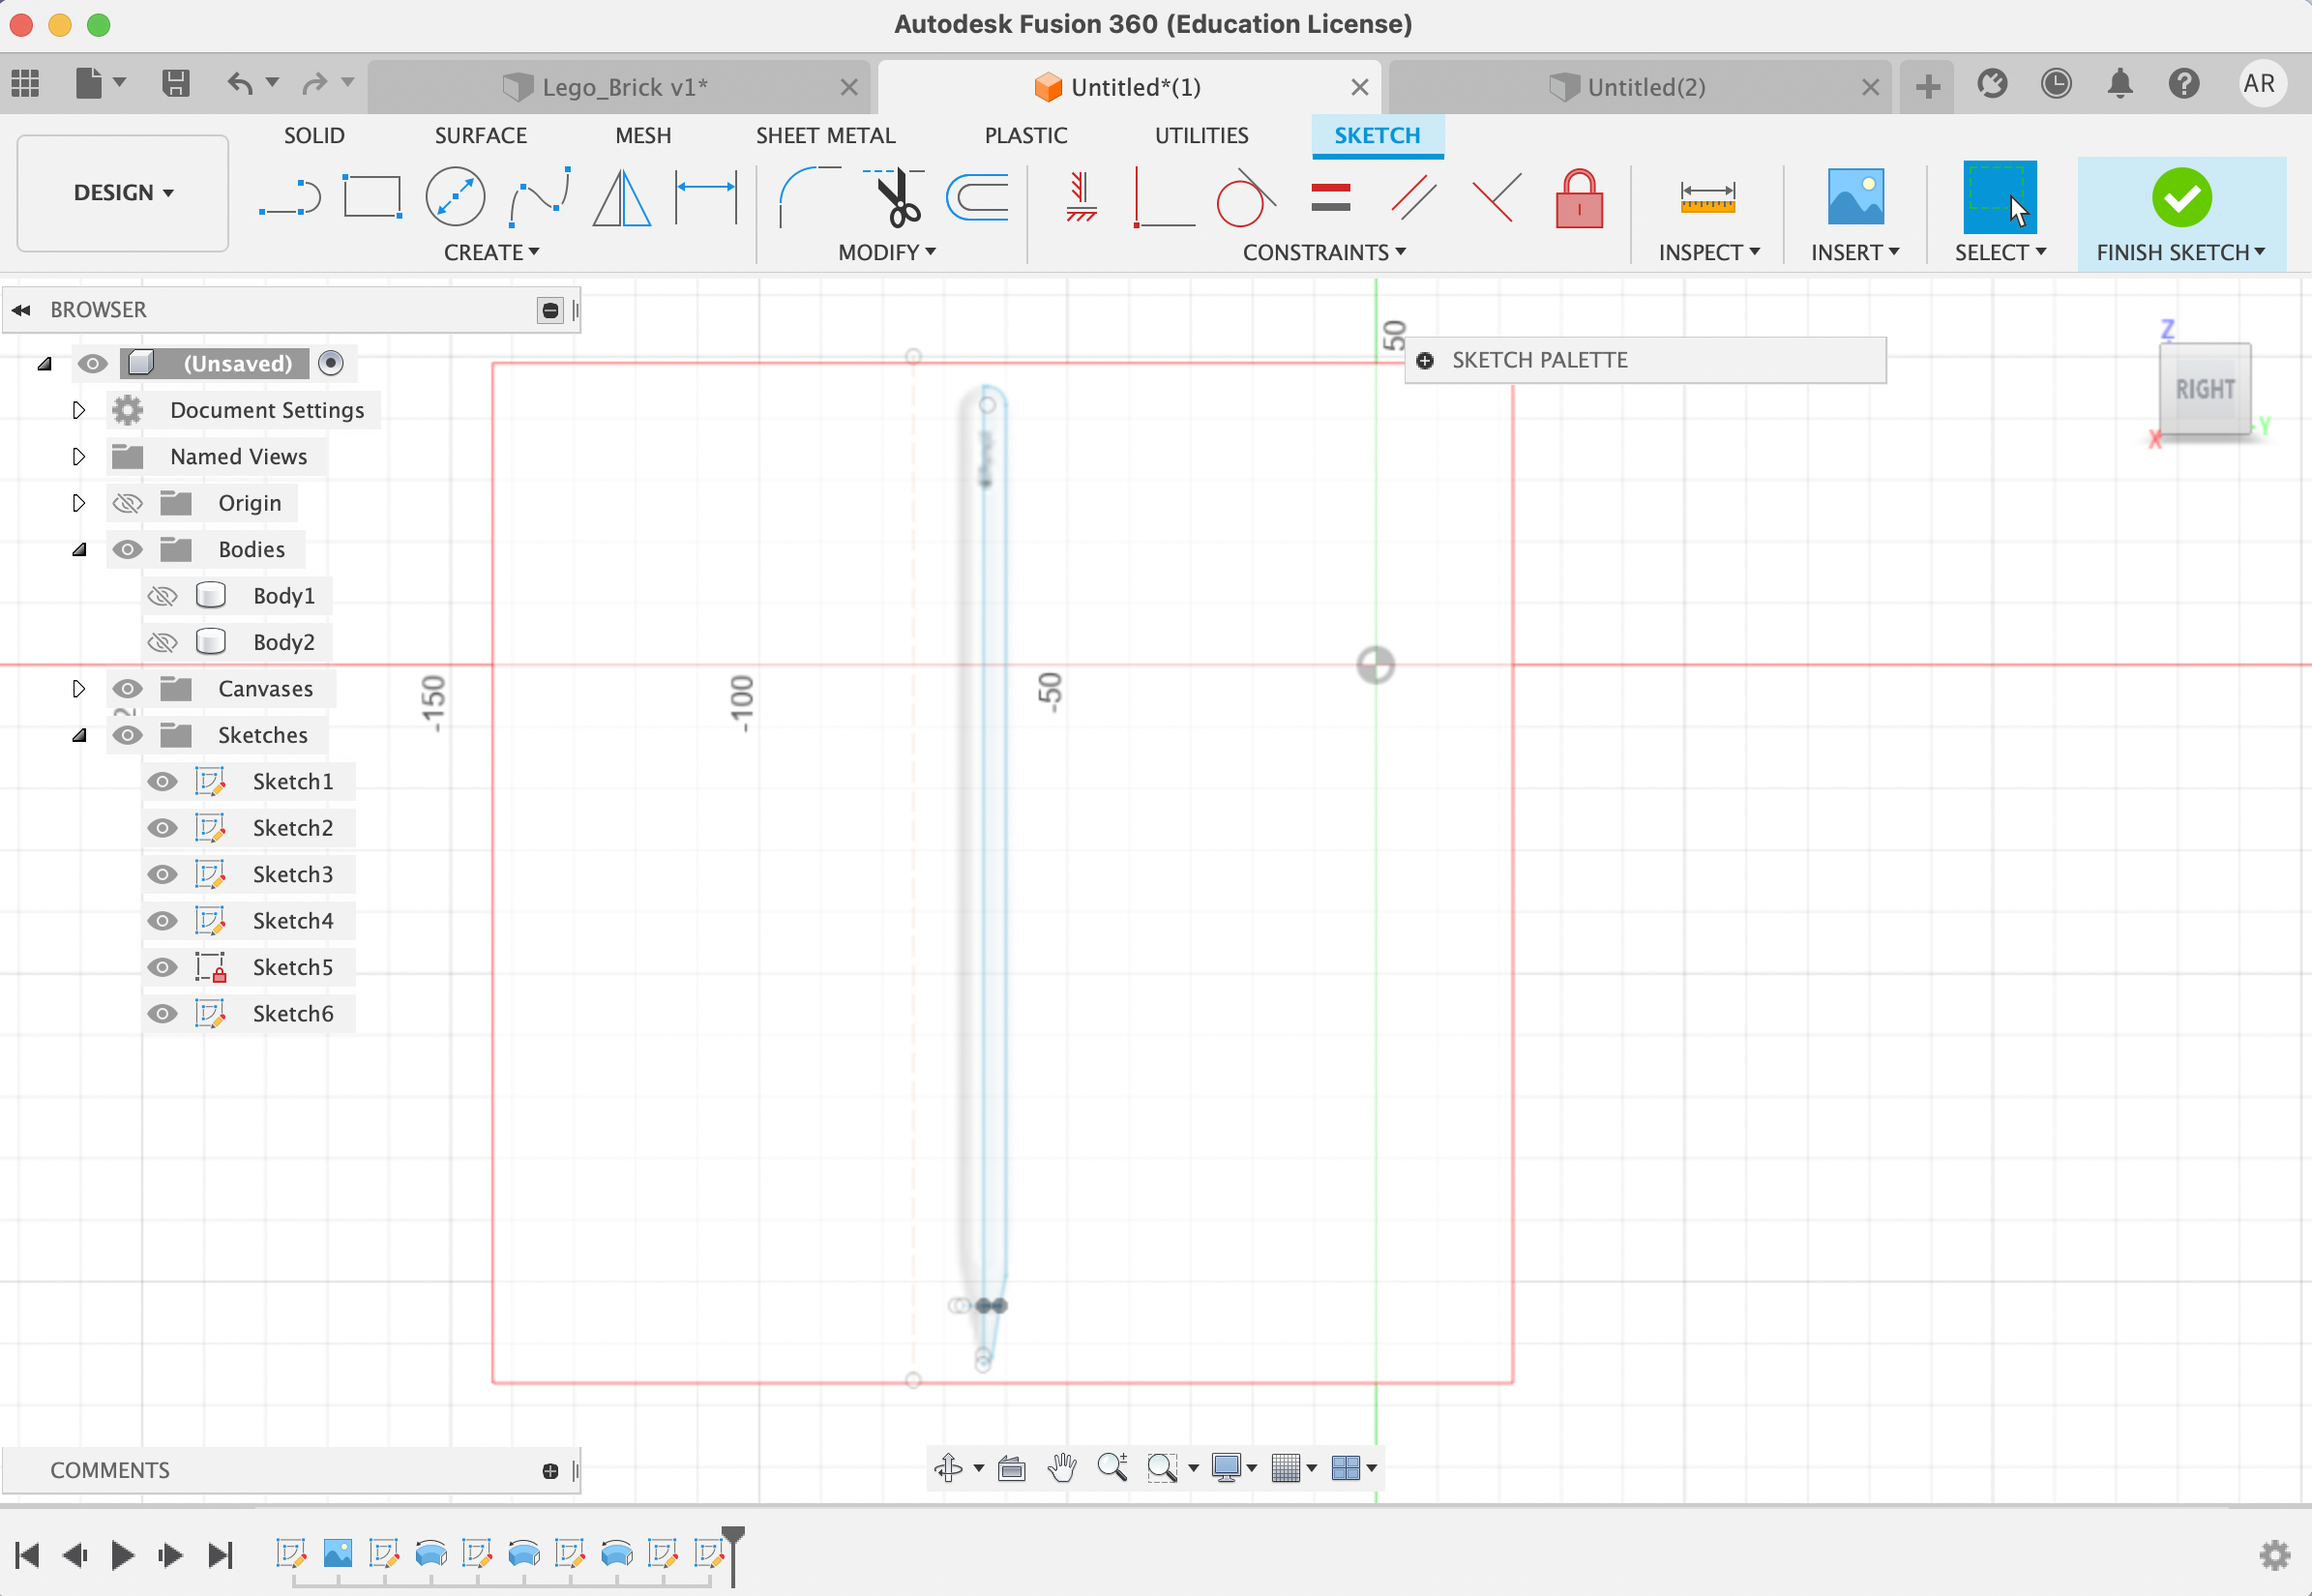
I first started with a sketch in Fusion, where I outlined the apple pencil (with help of a png). I opted not to draw in the tip, given I will do this at a later step.
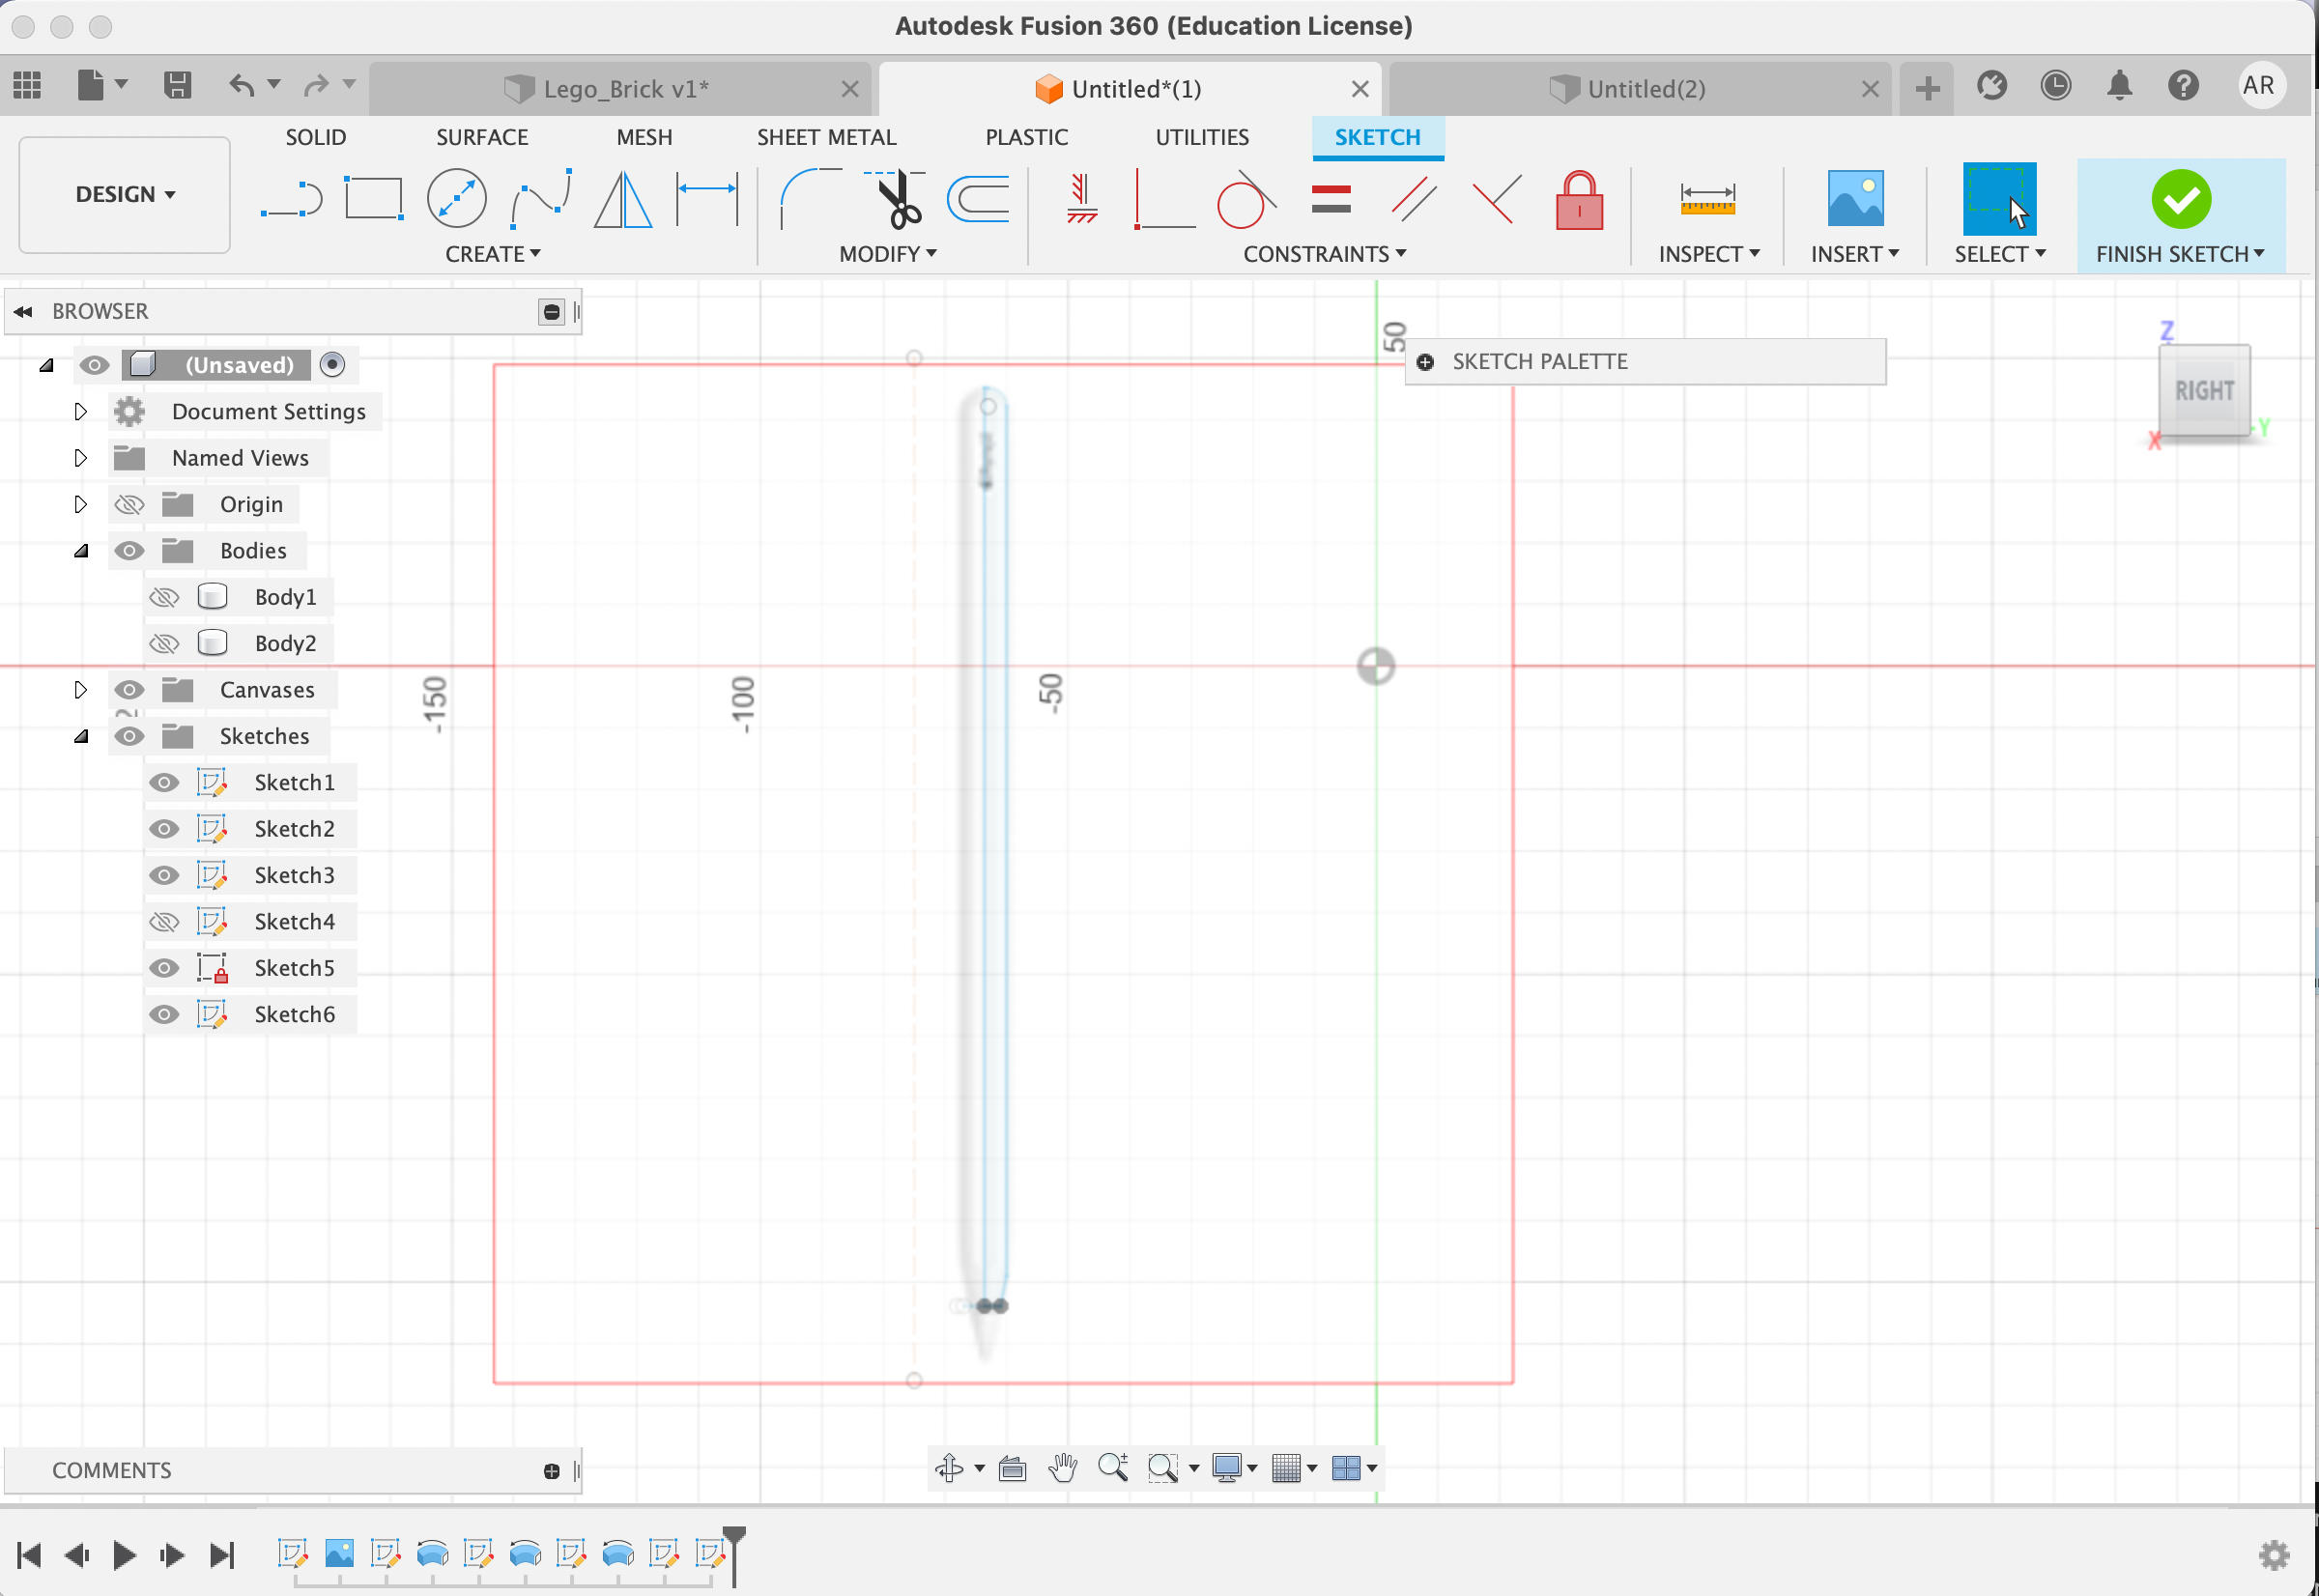
From here, I extruded the sketch into 3D, using the revolve function (I revolved around a vertical axis).
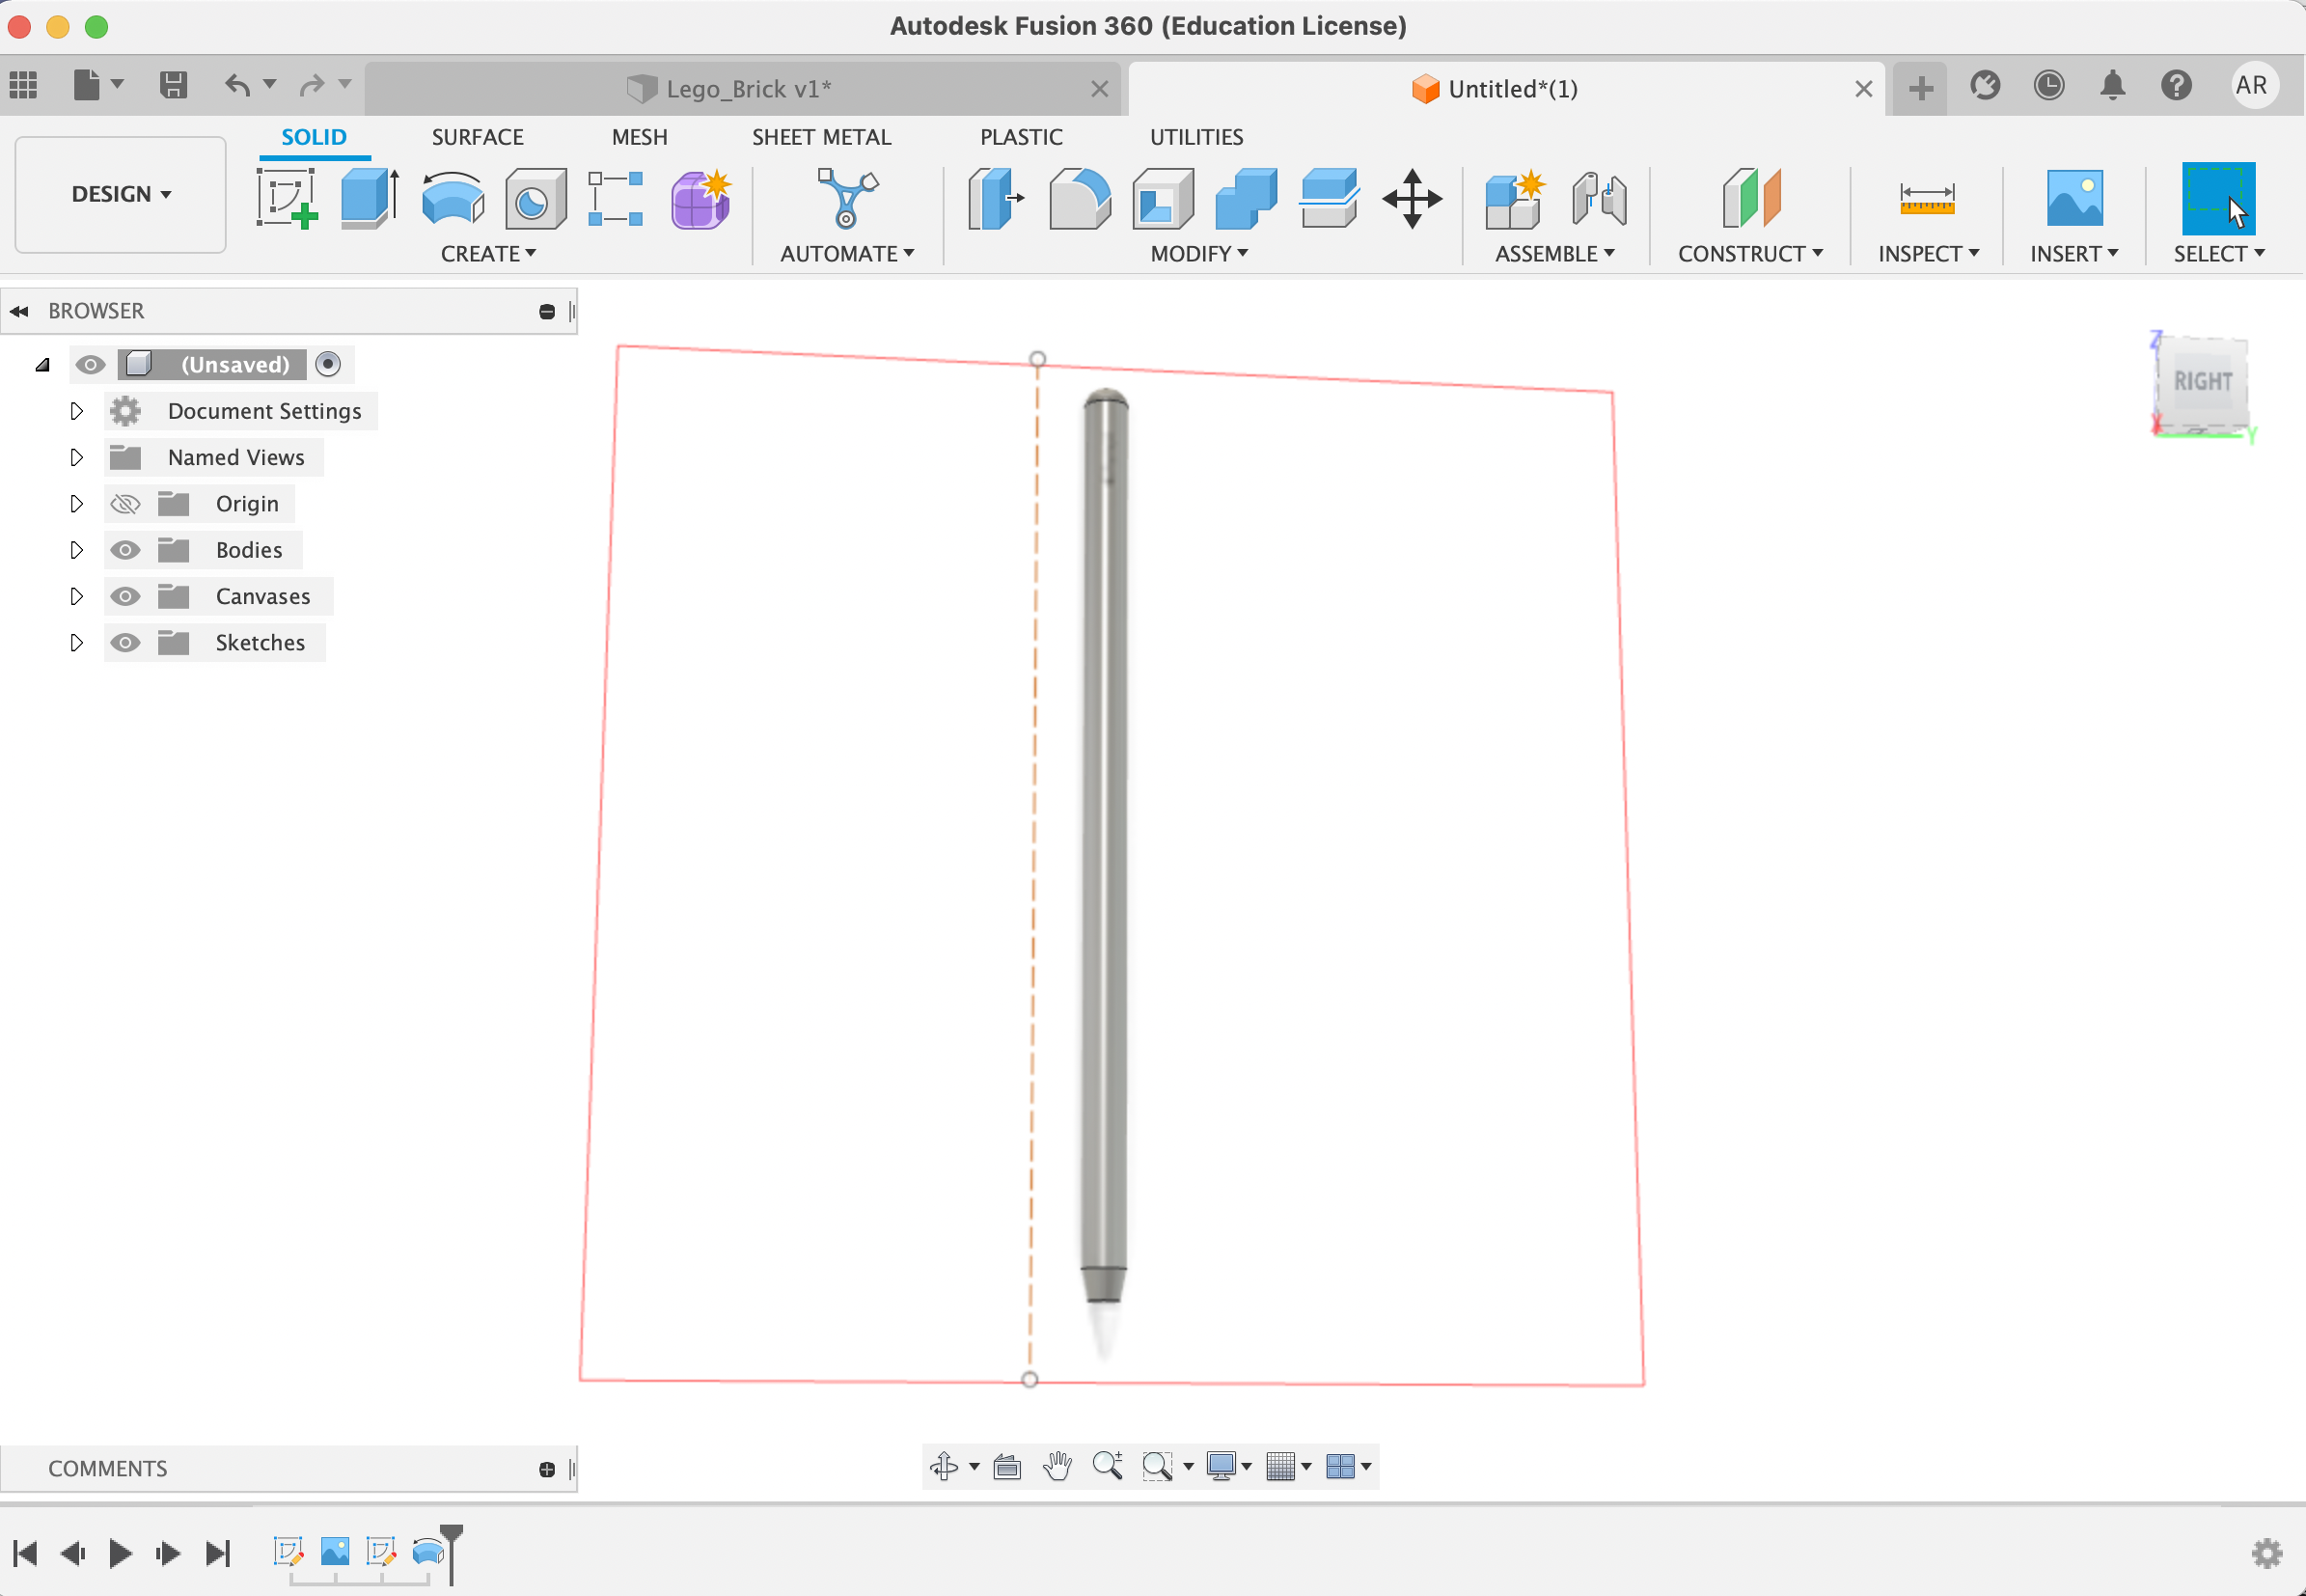
Now time to sketch in the tip!
And again, extruded to 3D
3. Showcasing the Apple Pencil
Finally, I made the pencil white by going to modify > appearance and selecting a glossy white color.