Phones Galore
Materials
- PrusaSlicer Software
- Fusion 360 Software
- 3D Printer
Introduction
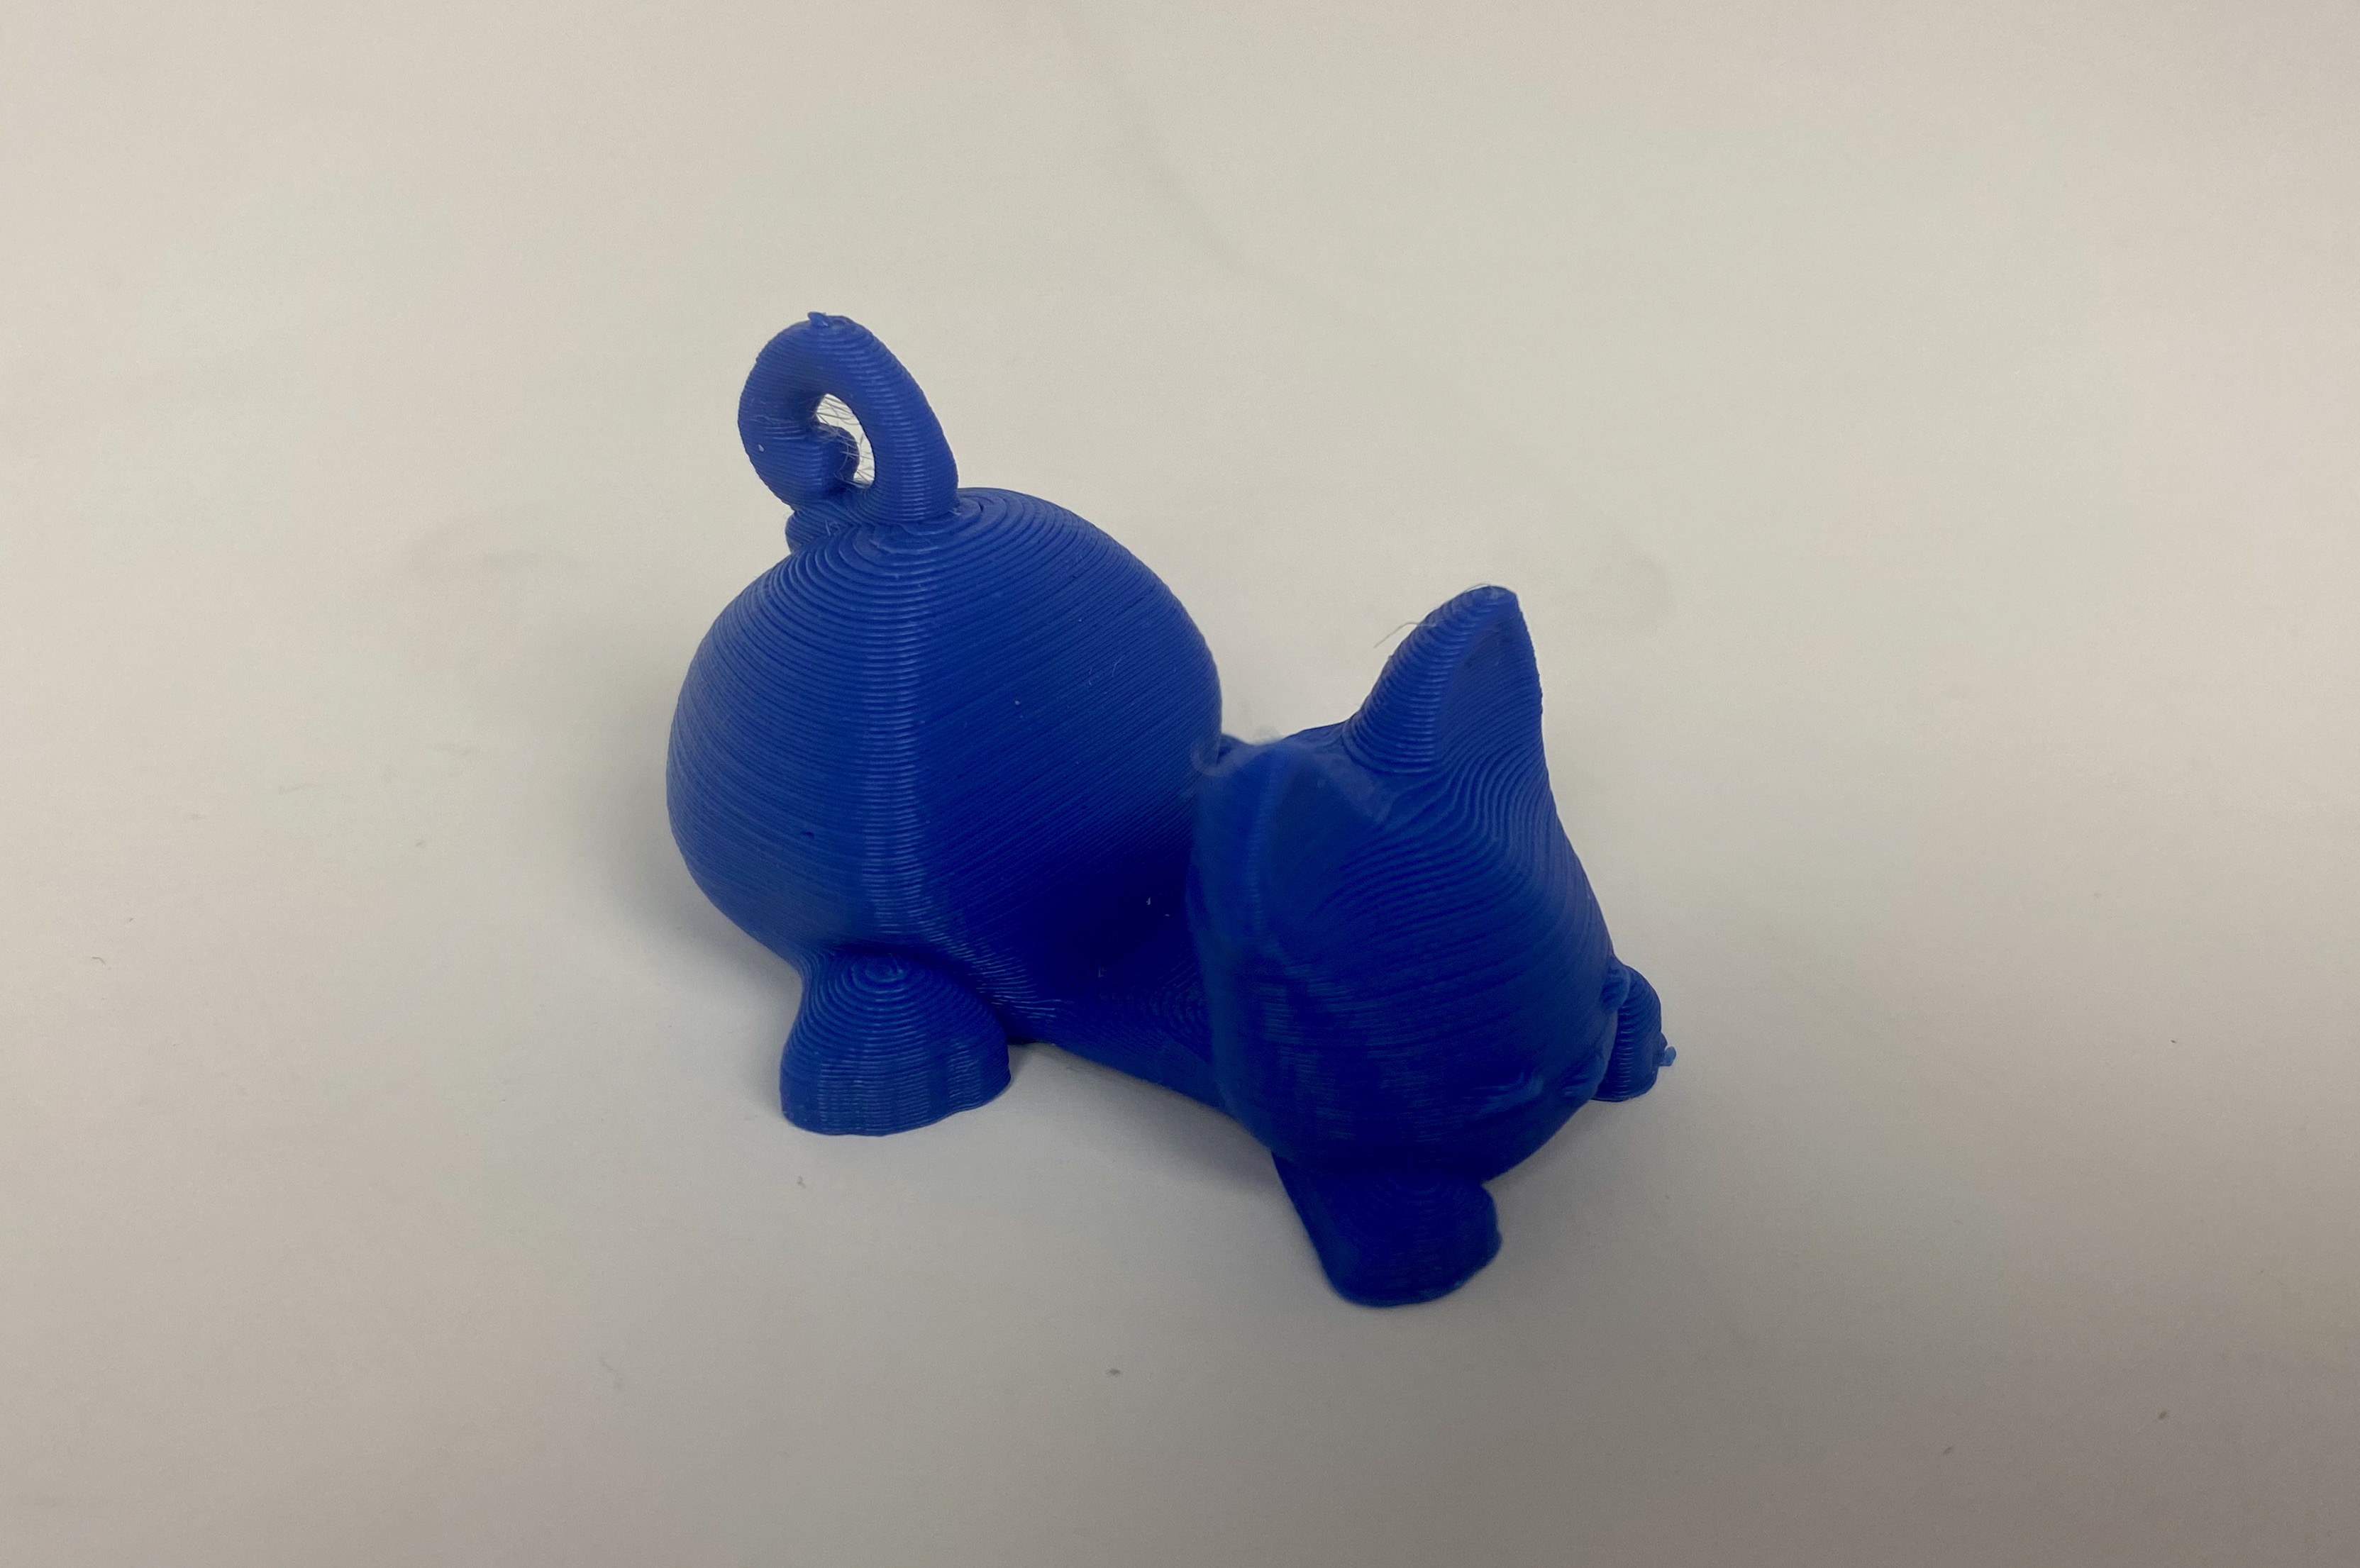
I really wanted to create a slew of items for my phone, provided that I use it for hours a day on a daily basis. Additionally, provided that I wanted to create multiple prototypes, I figured a phone case was pretty economical when it comes to printing time, as well as it is not too technically difficult to design and modify in a 3D envrionment. In order to get warmed up on the 3D printer, I printed a quick part using this design from thingiverse.
The Process
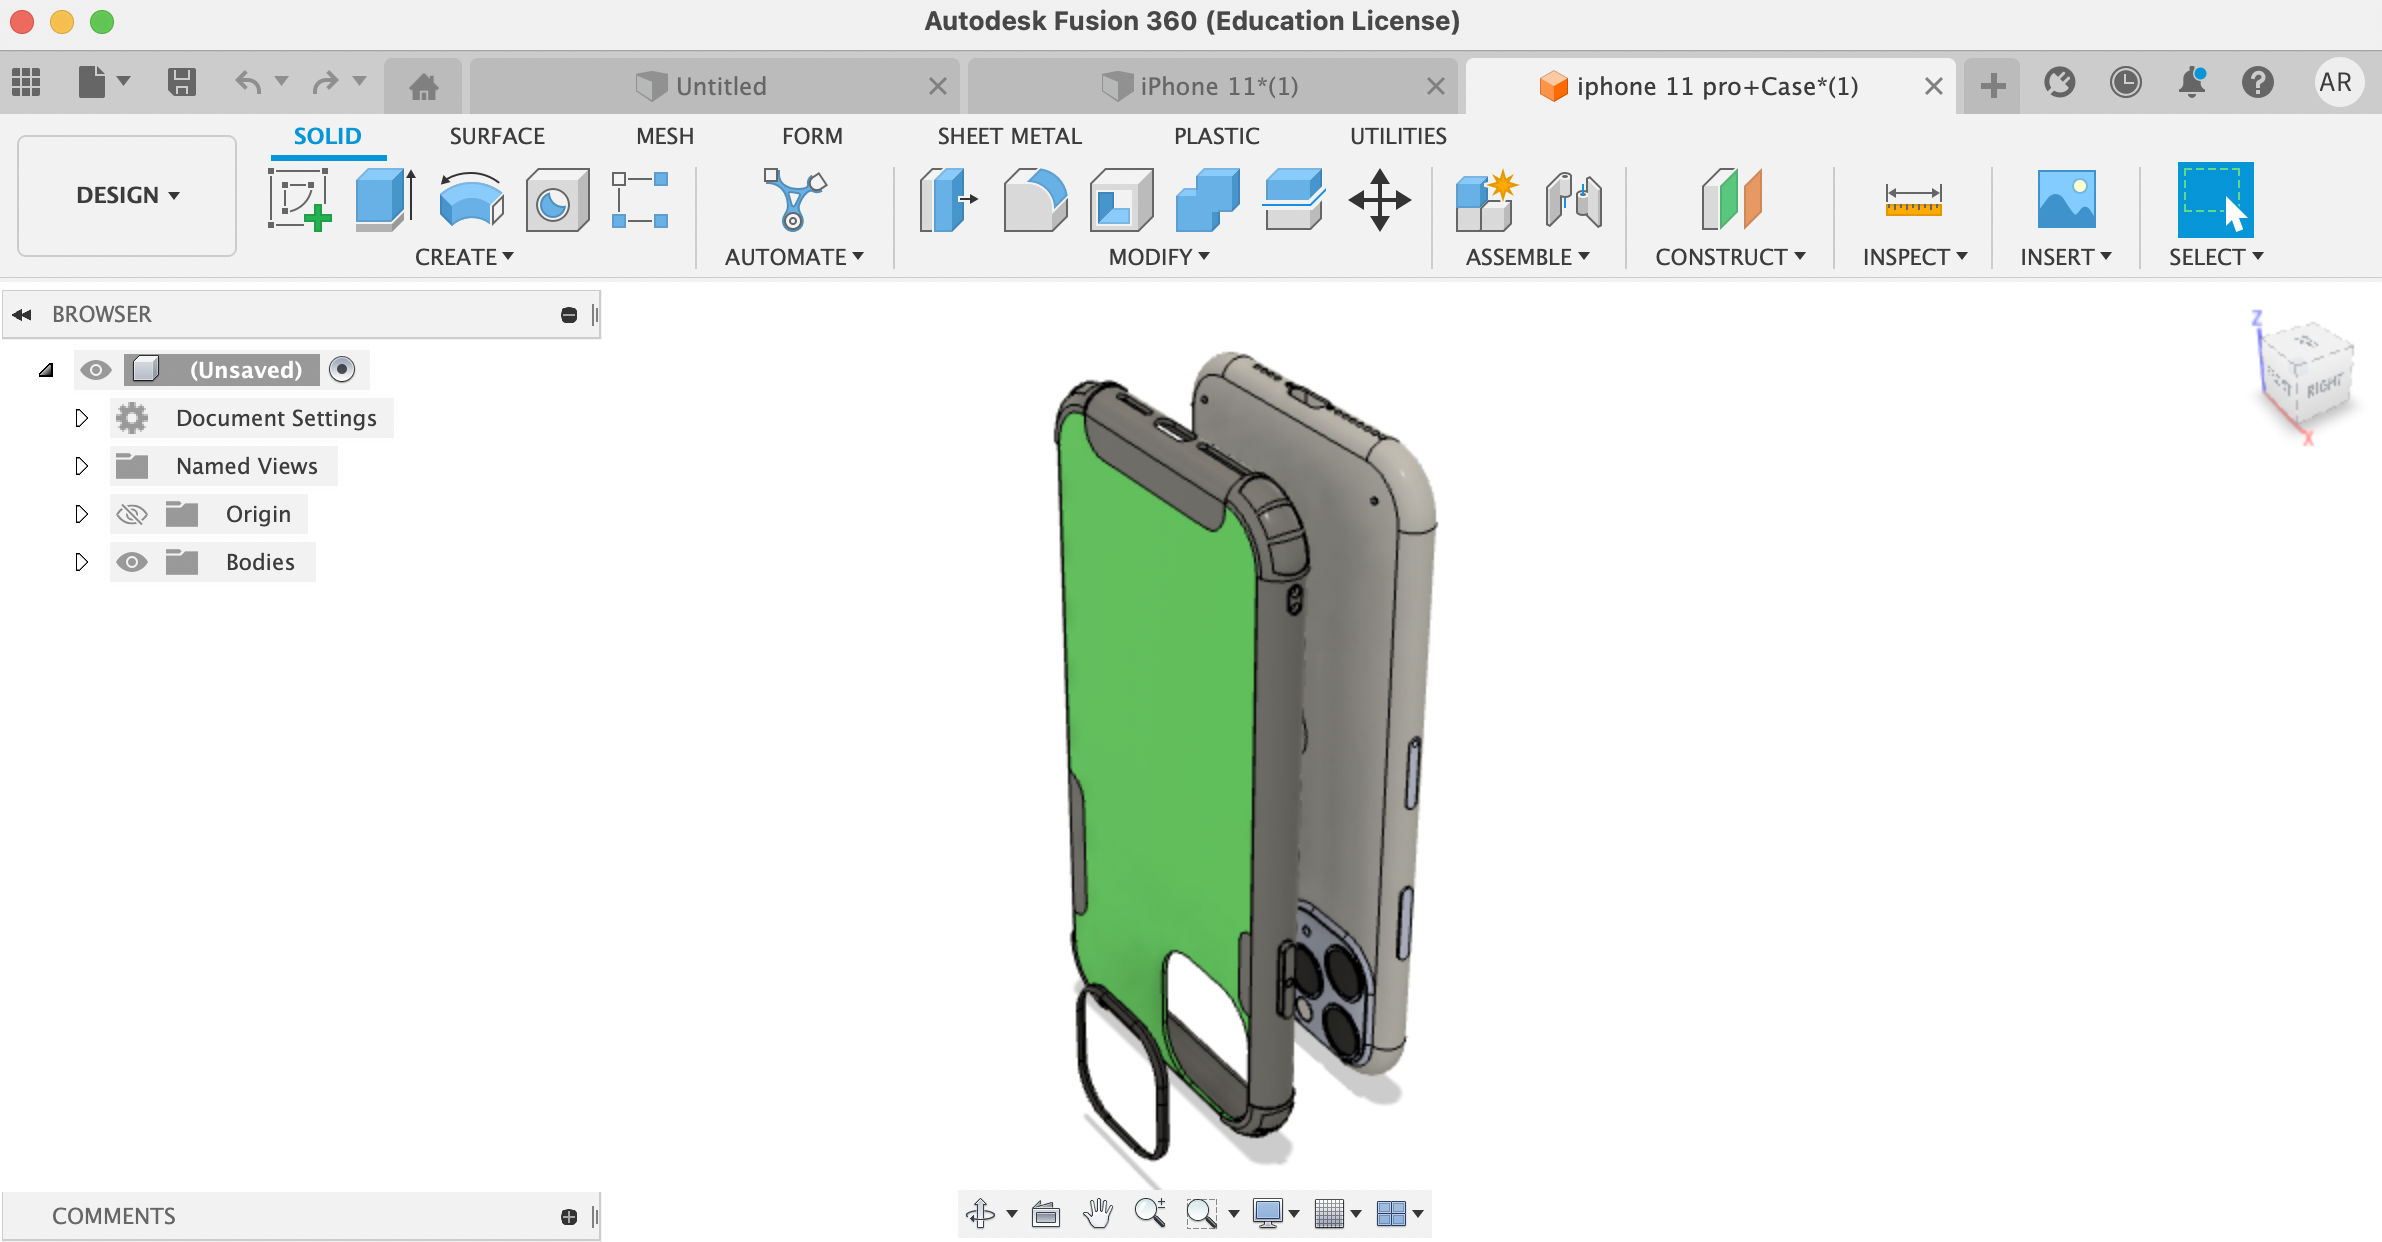
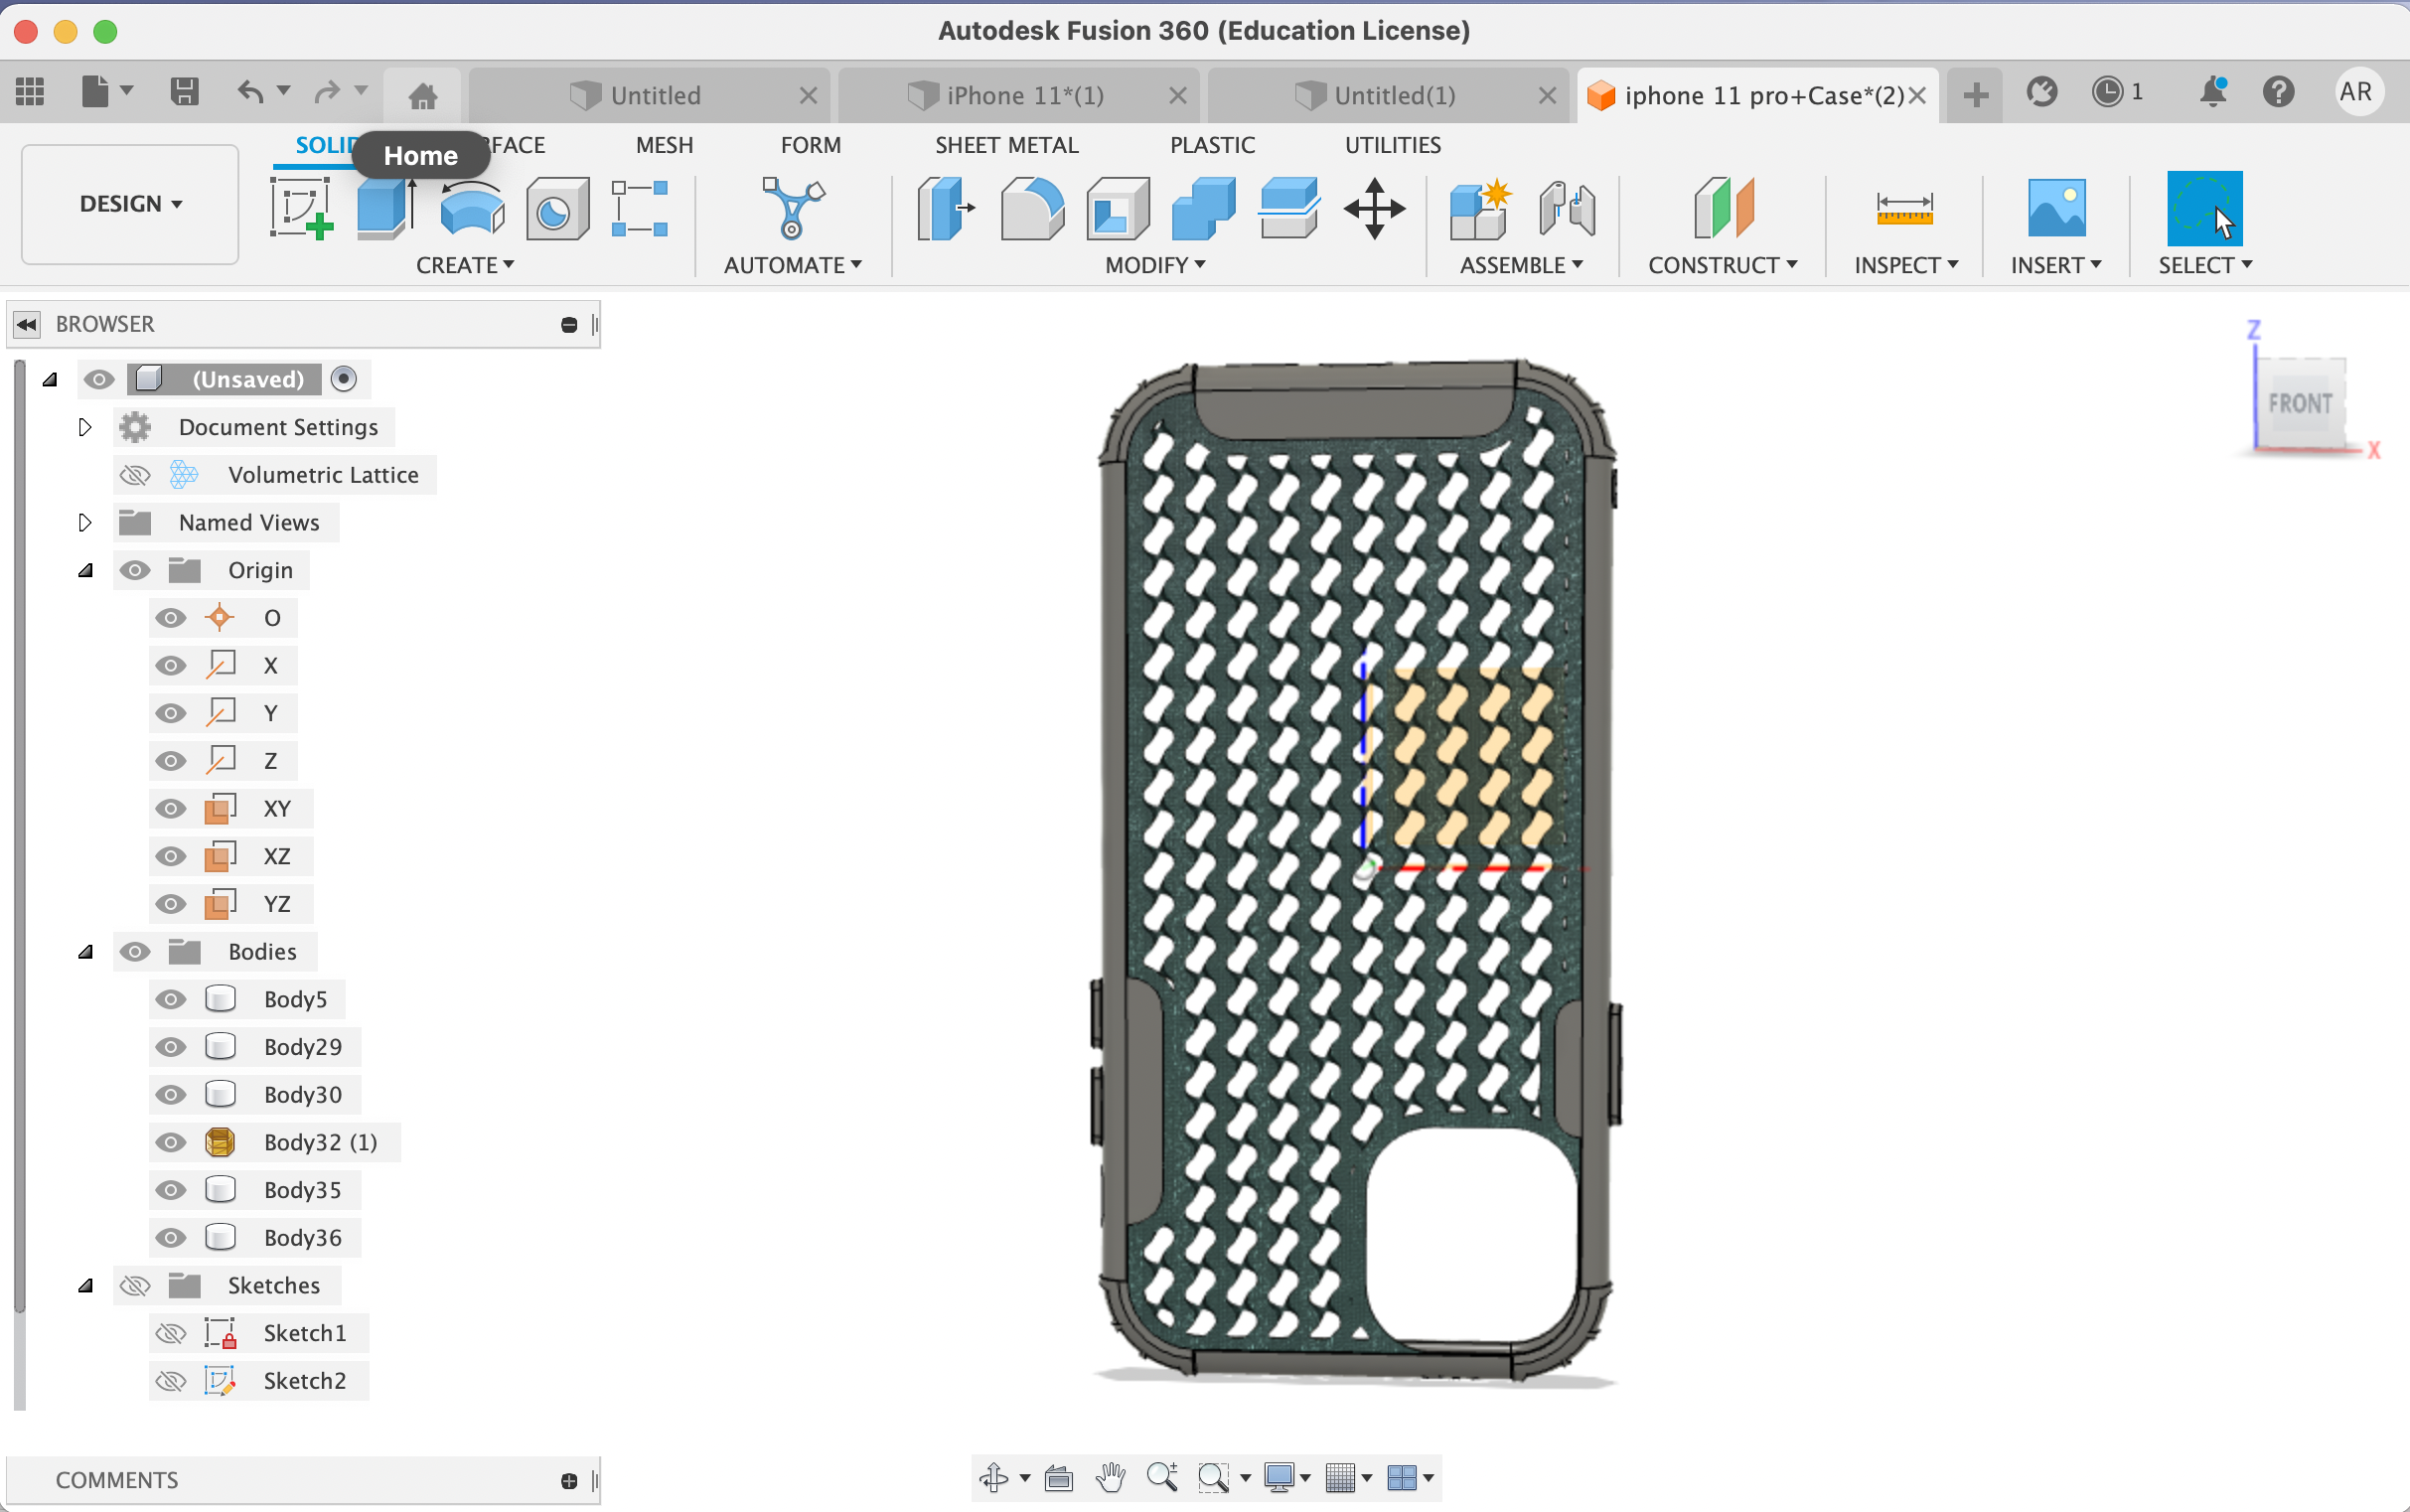
I found a tutorial online that went through the creation of a phone case. From here, I found a nice base design on GrabCad which I would be able to nicely modify for my intended purposes. See below a photo of the initial 3D model of an iPhone 11 and a case in Fusion 360.
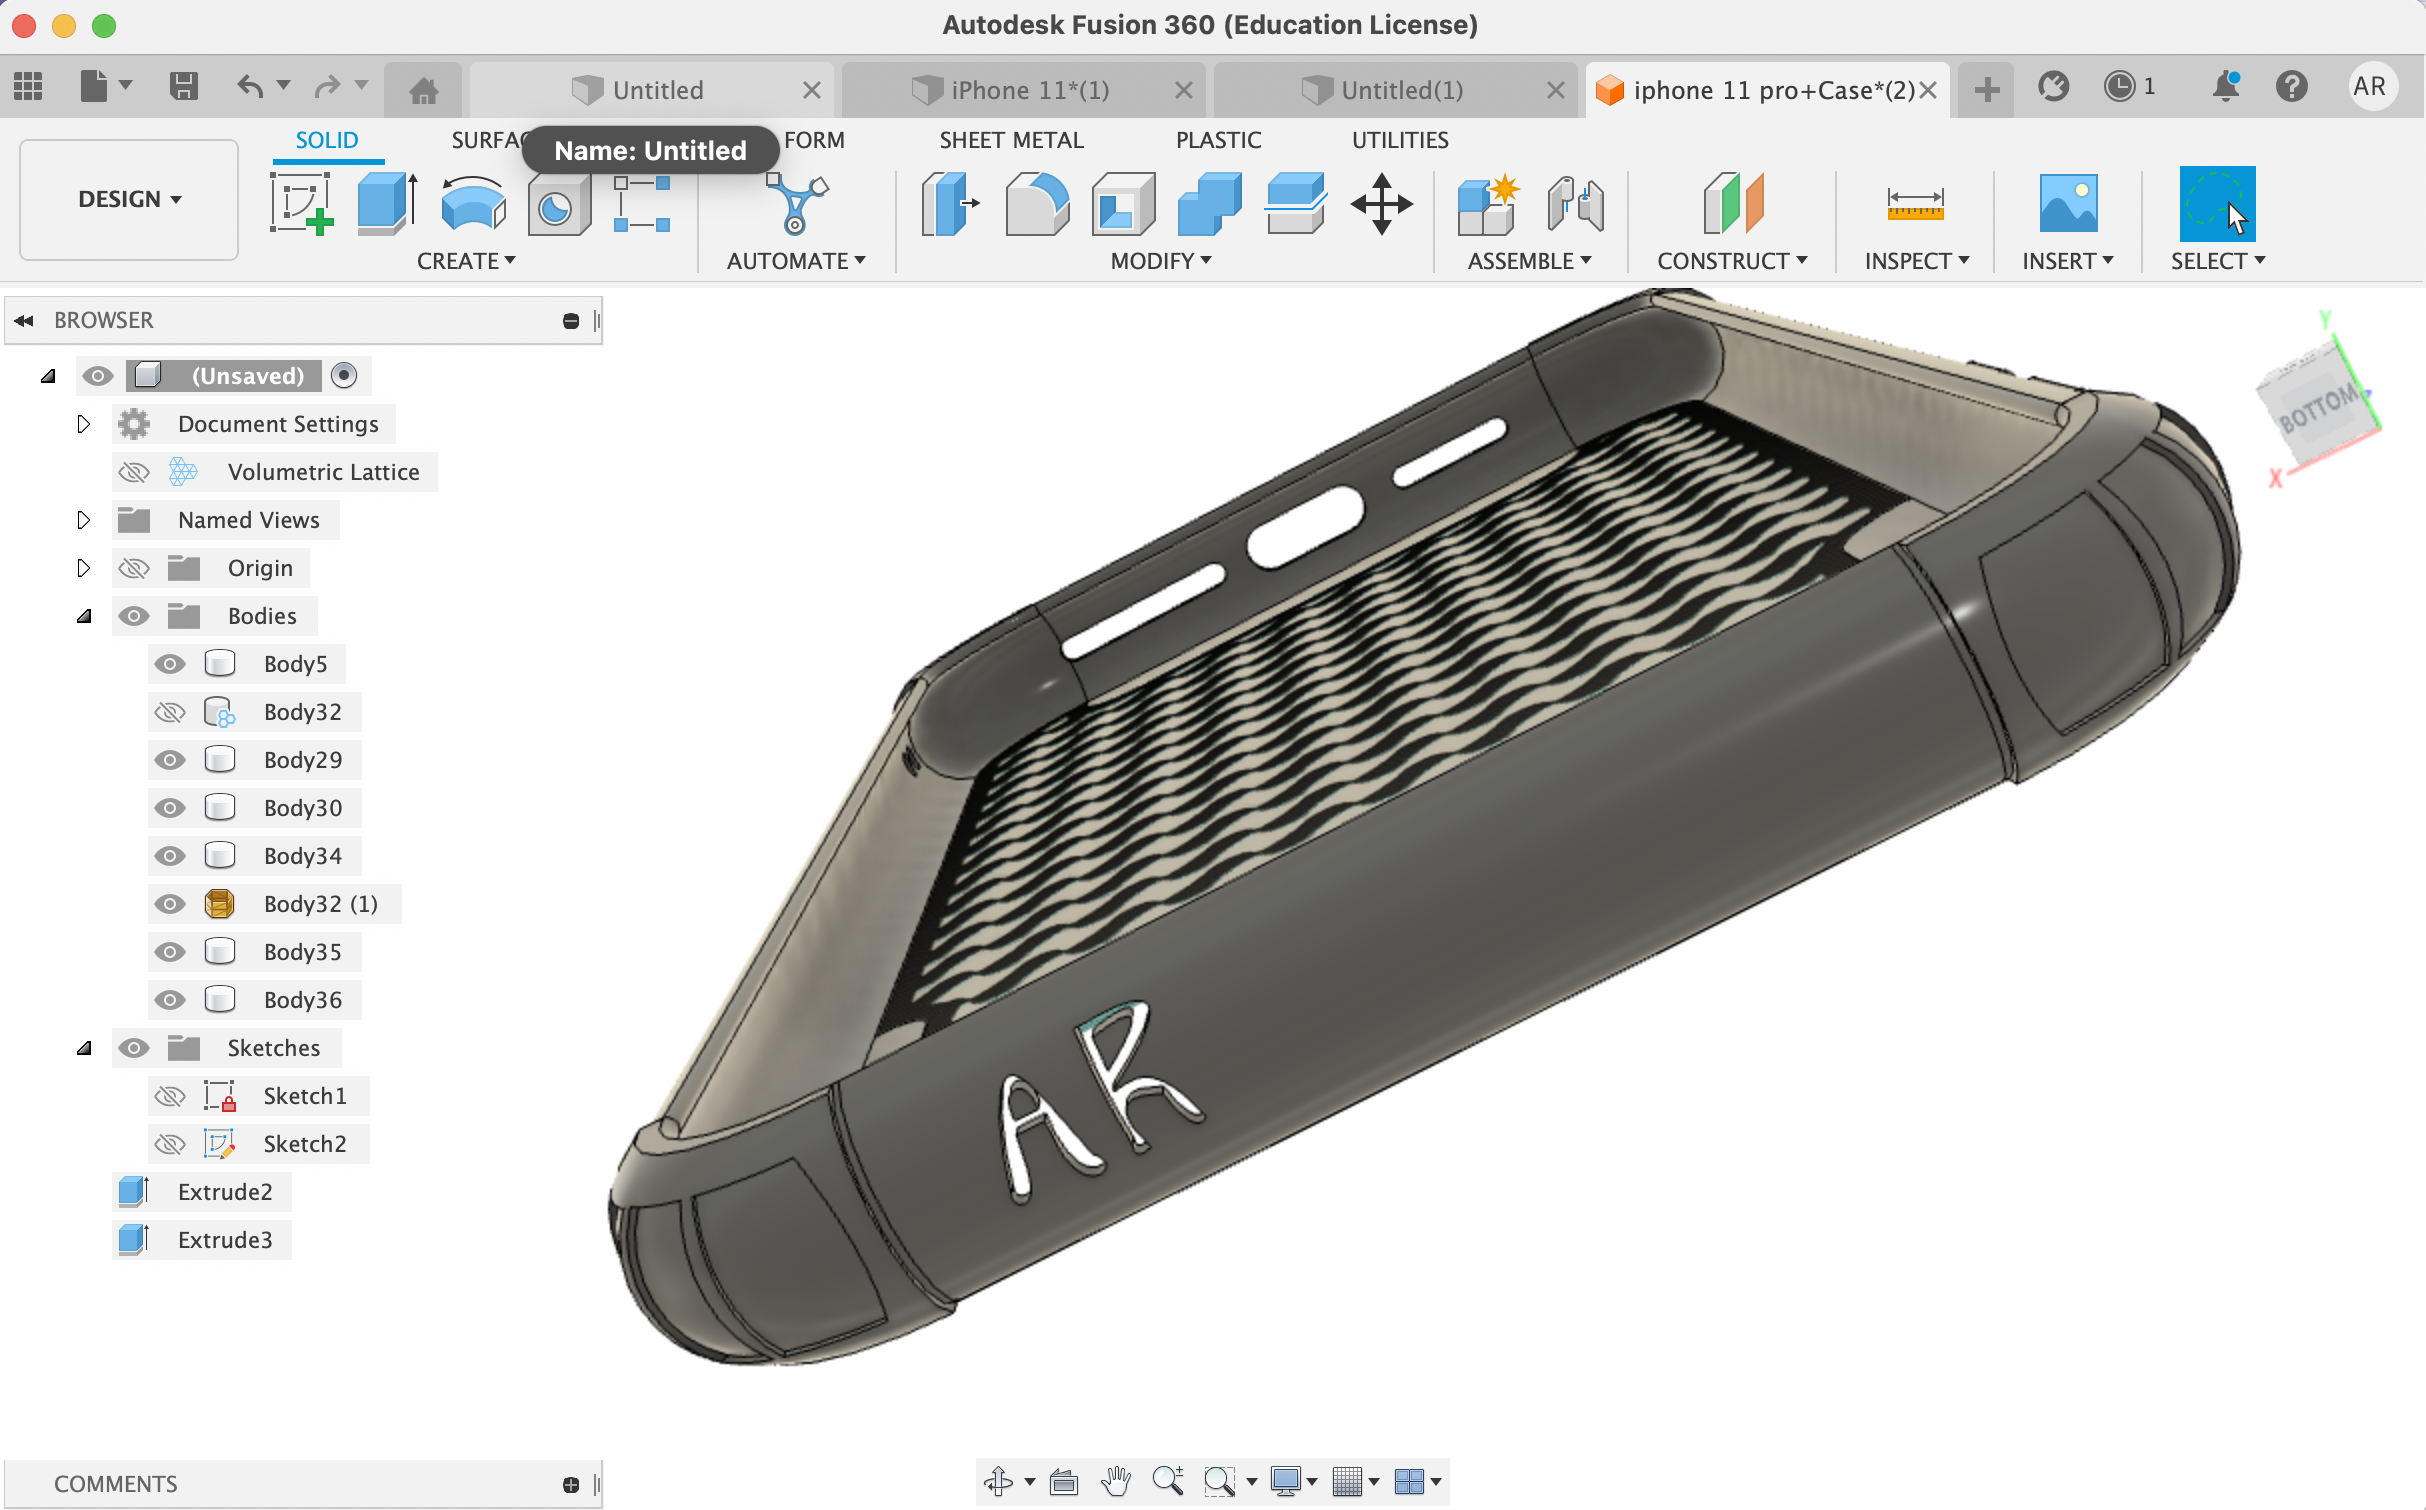
I then modified the phone case to include a latticed design on the back. I accomplished this by using the Product Design > Volumetric Lattice extension in Fusion 360. I opted to not extrude this design all the way through the case, as in the tutorial, because I initially wanted a little bit more structural integrity to the case. In a future prototype, however, I do extrude the design all the way to see how it holds up. It held up pretty well with the harder plastic (but less well with the more pliable plastic. I ended up creating 3 phone cases.

Lastly, I thought it would be a nice touch to have a cutout of my initials in the phone, so I did just that using the Spline tool in Fusion. See below for my initials, "AR."
Here is a photo of my second prototype, where I extruded (or cut) the lattice design all the way into the phone case.
I then turned to exporting my files created in Fusion. See below for my file as an STL and the final gcode file (for the final protoype when I extruded all the way!)
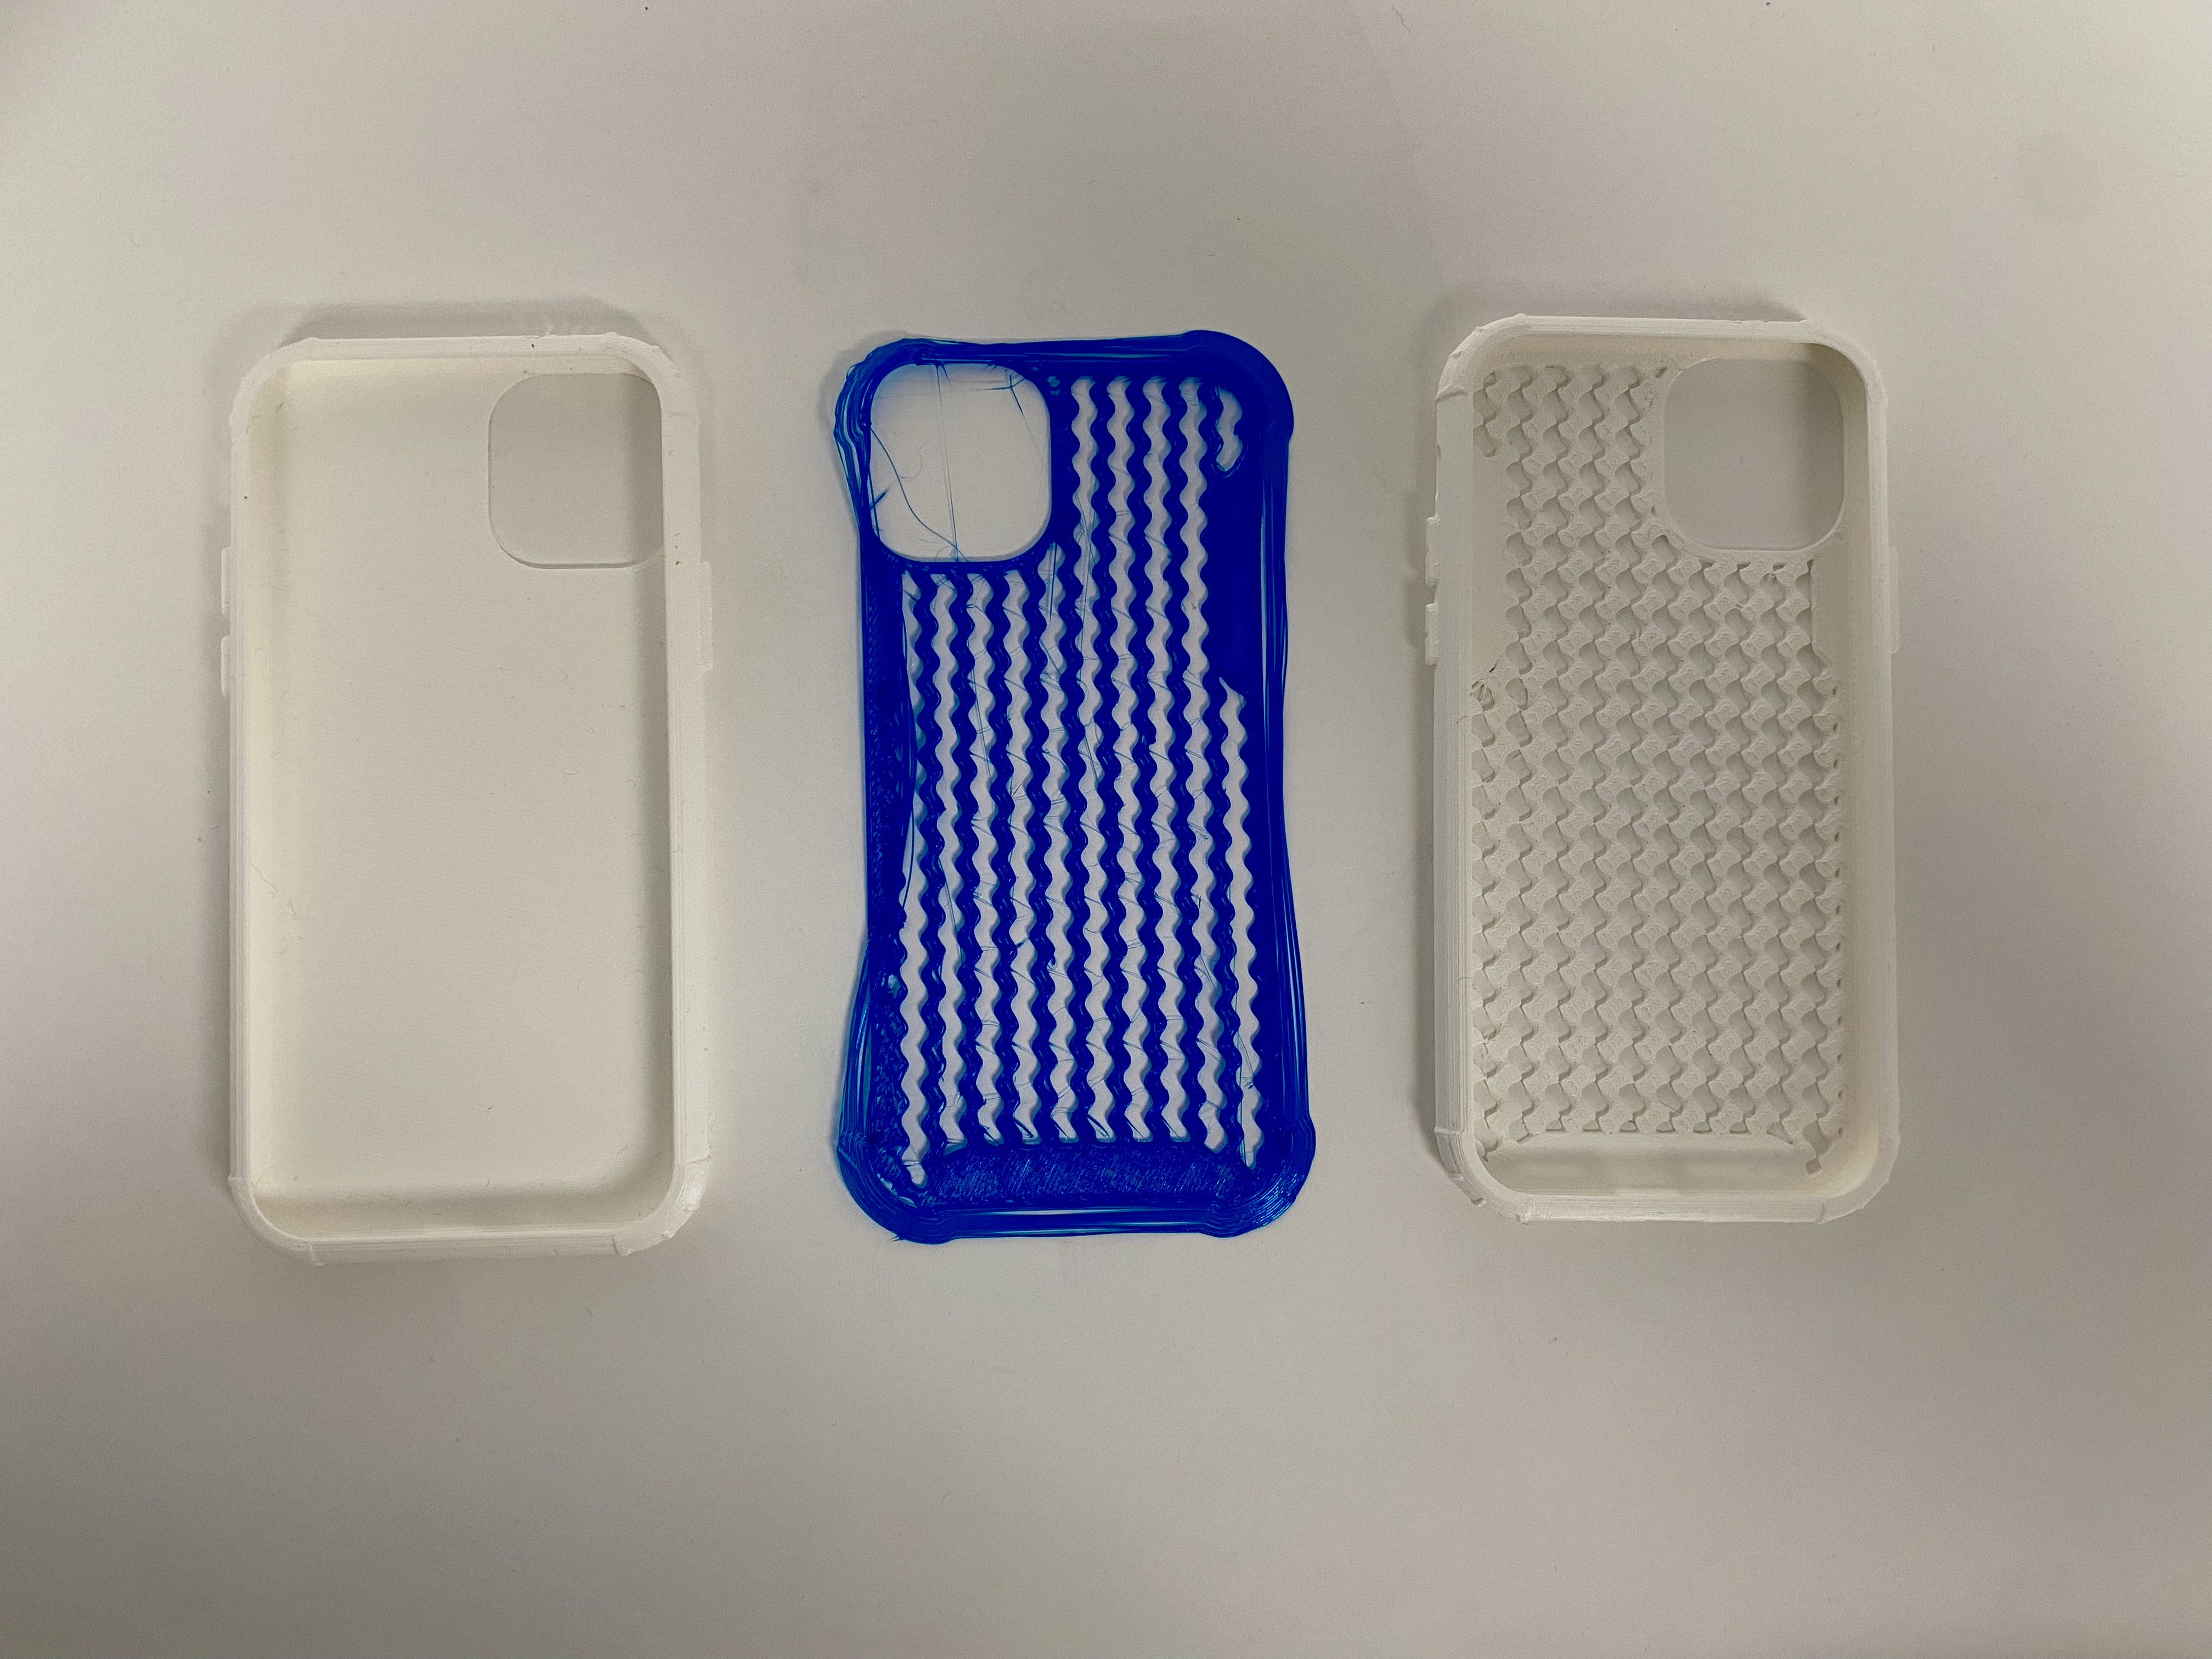
Download my STL file Download my gcode fileFinally, I printed my creation. The first prototpye (white without an extrusion all the way through the body) printed relatively well, but the design did not turn out exactly as I had envisioned, hence why in my second version I opted to cut the design all the way through the body. My second prototype (blue) was also a fail--something about the flexible plastic did not align well with my design. The last iteration (white) was almost as I had envisioned!
Future Iterations
If I were to build on this project in the future, I would try to use the flexible material again, and play around with the heat settings--I believe this might be where I went wrong the first time!
Photogrammetry
See below! I wasn't able to find a perfect app, and the Revopoint was broken, so I made due with the Polycam app. The outcome wasn't perfect--I should have flipped over my item, but I still think it's pretty cool!
Final Project Ideas
Please see my week one page for an updated look at my final project!