Materials
- ESP32
- Breadboard
- LED
- 470Ω Resistor
- Firebase
Introduction
I really wanted to use Firebase this week, based off of an in-class demonstration from Kassia (also based off of a chat we had during office hours).
The Process
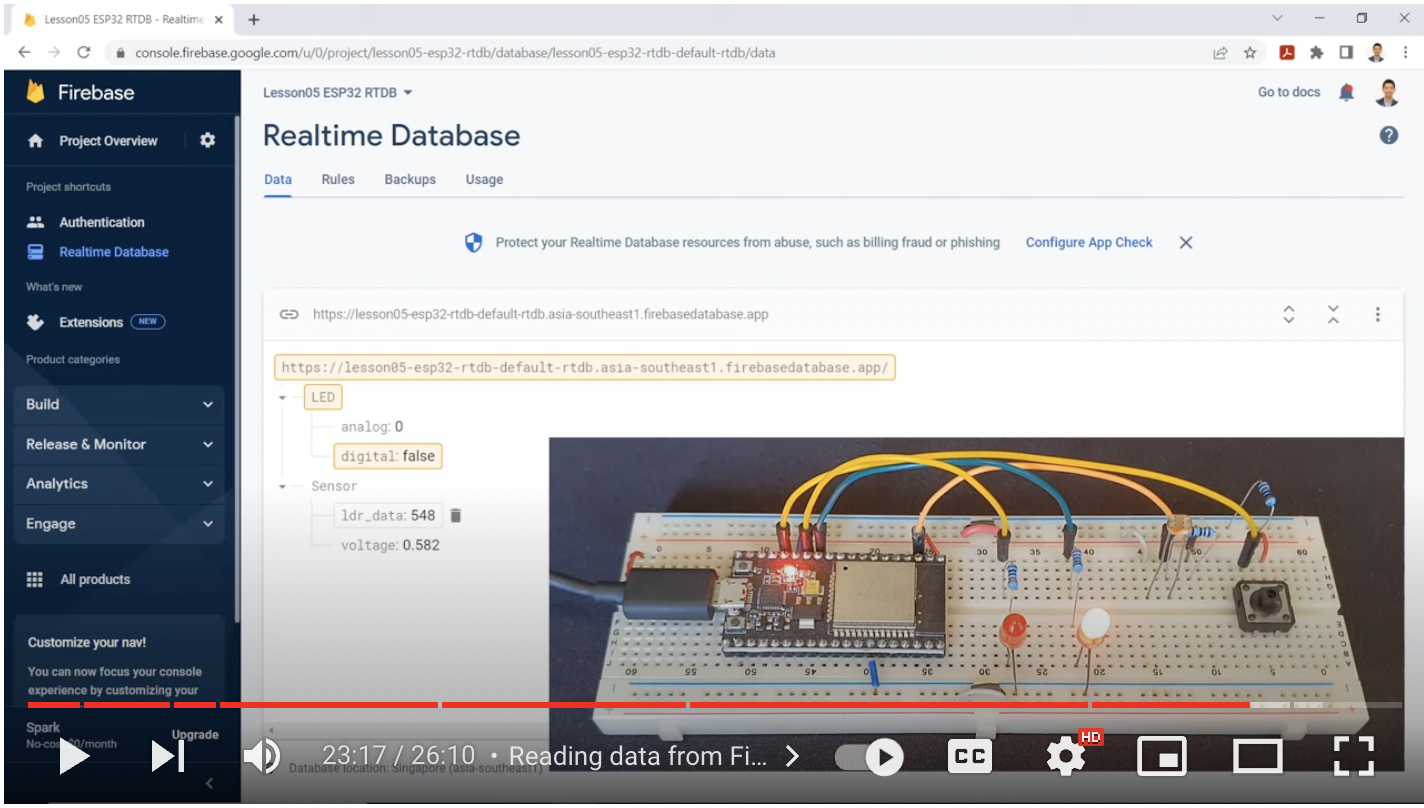
For this project, I started by following a YouTube video on setting up Firebase, which I was able to do. Link to Tutorial I Followed
From here, I set up my LED circuit using the Blink tutorial from Arduino Link to Blink Example
I then turned to using Nathan's code to "connect" the circuit to the internet. I will drop the code below for completeness, but I just copy and pasted the code Nathan provides in class, making sure I was hooking up the LED to pin 5.
#include // esp32 library
#include // firebase library
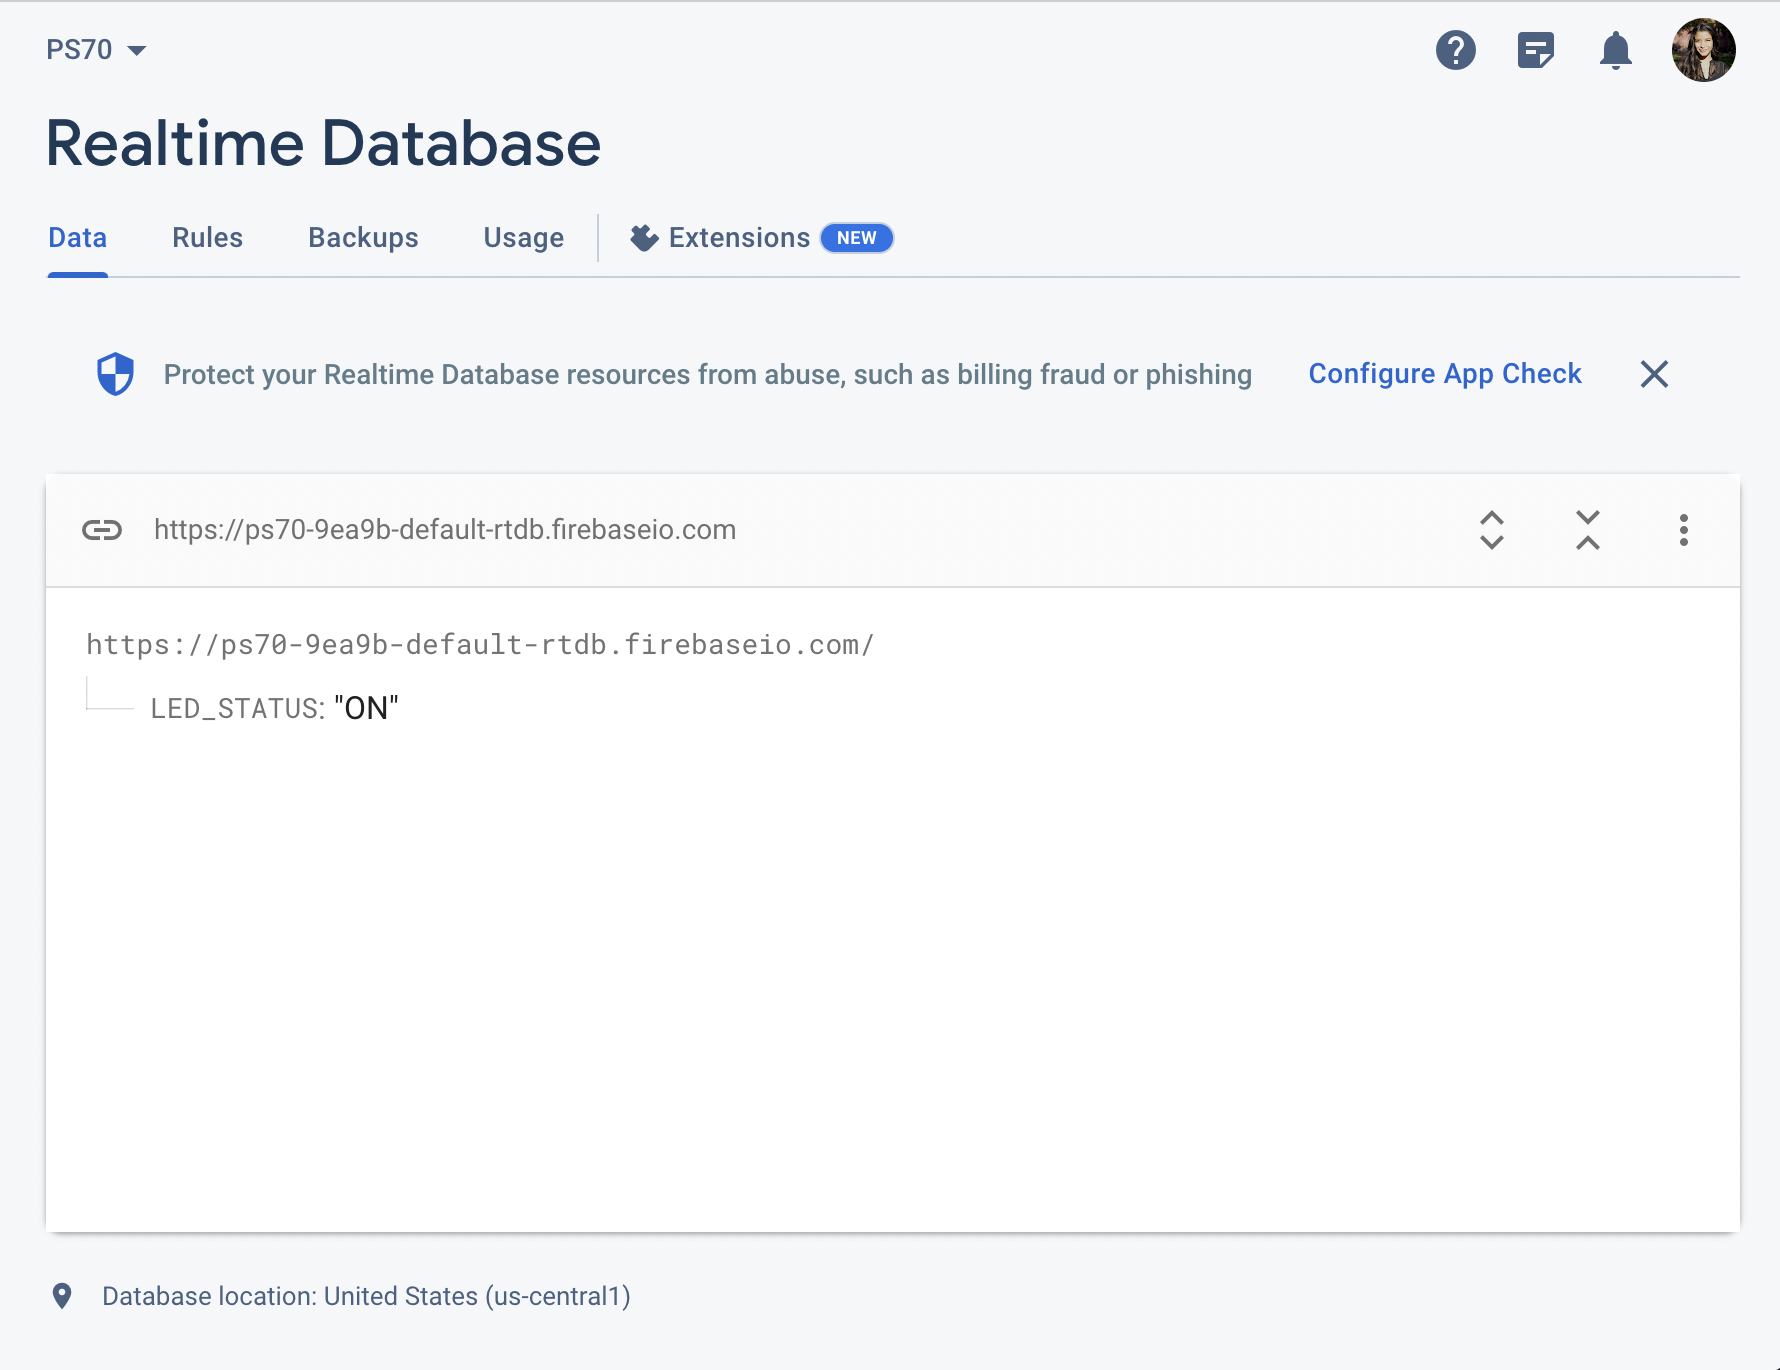
#define FIREBASE_HOST "https://ps70-9ea9b-default-rtdb.firebaseio.com/" // the project name address from firebase id
#define FIREBASE_AUTH "AIzaSyBpQjnQx9SrGvftElVU_woY8XIwSfPAGhs" // the secret key generated from firebase
#define WIFI_SSID "MAKERSPACE" // input your home or public wifi name
#define WIFI_PASSWORD "12345678" // password of wifi ssid
String fireString = ""; // led status received from firebase
int ledpin = ;
//Define FirebaseESP32 data object
FirebaseData firebaseData;
void setup() {
Serial.begin(115200);
delay(1000);
pinMode(ledpin, OUTPUT);
WiFi.begin(WIFI_SSID, WIFI_PASSWORD); // try to connect with wifi
Serial.print("Connecting to ");
Serial.print(WIFI_SSID);
while (WiFi.status() != WL_CONNECTED) {
Serial.print(".");
delay(500);
}
Serial.println();
Serial.print("Connected to ");
Serial.println(WIFI_SSID);
Serial.print("IP Address is : ");
Serial.println(WiFi.localIP()); // print local IP address
Firebase.begin(FIREBASE_HOST, FIREBASE_AUTH); // connect to firebase
Firebase.reconnectWiFi(true);
Firebase.set(firebaseData, "/LED_STATUS", "OFF"); // set initial string of "OFF"
}
void loop() {
Firebase.get(firebaseData, "/LED_STATUS"); // get led status input from firebase
fireString = firebaseData.stringData(); // change to e.g. intData() or boolData()
Serial.println(fireString);
if (fireString == "ON") { // compare the input of led status received from firebase
Serial.println("Led Turned ON");
digitalWrite(ledpin, HIGH); // make output led ON
}
else if (fireString == "OFF") { // compare the input of led status received from firebase
Serial.println("Led Turned OFF");
digitalWrite(ledpin, LOW); // make output led OFF
}
else {
Serial.println("Please send ON/OFF");
}
delay(1000); // not strictly necessary
}
From here, I was able to use the Firebase realtime database to switch my LED from "off" to "on." Feel free to see the GIF above to see me do this in action!